Potatoes are the crop that converts people. Almost everything else in the vegetable garden asks for attention, judgement, or a certain amount of faith; potatoes ask you to bury something in spring, largely ignore it, and then experience one of gardening's genuine pleasures — tipping out a container or forking open a ridge and finding food you did not know was there. Nothing else delivers such a satisfying harvest for so little skill.
They also grow well in containers, which puts them within reach of patios and balconies, and they are famously good for breaking in new ground. This guide covers the whole sequence — seed potatoes and chitting, planting, the earthing up that everyone does without quite knowing why, watering and feeding, blight, and harvesting and storing — plus the bucket method that makes potatoes possible almost anywhere.
Choosing What to Grow
Potato varieties are grouped by how long they take, and that grouping decides almost everything about how you grow them:
| Group | Timing | Character |
|---|---|---|
| First earlies | Planted early spring, harvested early summer | New potatoes — small, waxy, superb flavour; usually harvested before blight arrives |
| Second earlies | Slightly later on both counts | The middle ground; still generally ahead of blight season |
| Maincrop | Longest in the ground, harvested late summer to autumn | Bigger yields and storable potatoes, but exposed to blight and needing more space and time |
For small gardens, containers, and anyone who has been beaten by blight before, earlies are the sensible default — they occupy the ground for less time, dodge the disease, and give you the new potatoes that are genuinely worth growing rather than buying. Maincrop makes sense if you have space and want a storable harvest.
Buy certified seed potatoes rather than planting supermarket ones: they are grown to be free of the diseases that would otherwise build up, and supermarket potatoes are often treated to suppress sprouting.
Chitting: The Optional Head Start
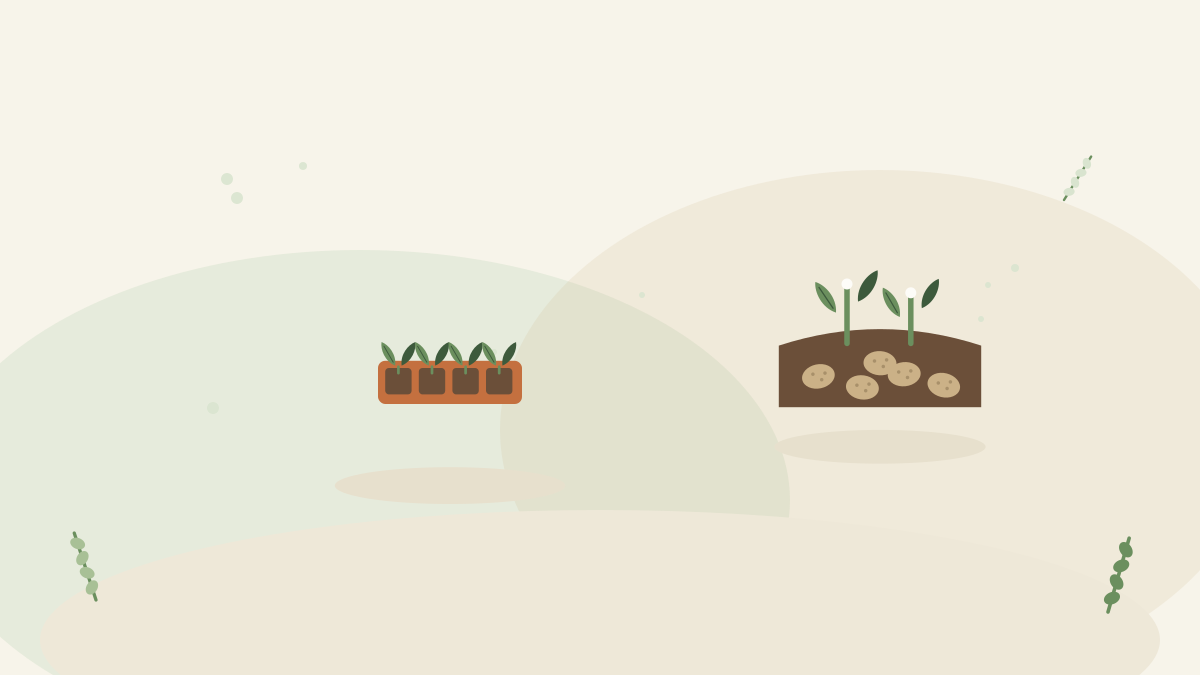
The FAQ explains the mechanics; the practical version is simple. Several weeks before planting, stand seed potatoes in a tray — egg boxes are traditional — in a cool, light, frost-free place with the end carrying the most eyes uppermost. You want short, stubby, green shoots. Long pale shoots mean too warm and too dark, and they snap off when handled.
Chitting is worth doing for earlies, where the whole point is an early harvest, and optional for maincrop. It is not the difference between success and failure — just a couple of weeks in your favour.
Planting in the Ground
- Wait for the soil to warm and the worst frosts to pass — planting into cold wet soil gains nothing, and emerging shoots are frost-tender.
- Choose an open, sunny spot with soil improved by compost. Potatoes are hungry and tolerate a wide range of soils, but hate waterlogging.
- Plant in trenches or individual holes, roughly 10–15 cm deep, shoots upward.
- Space by type: earlies closer together (around 30 cm, rows about 50–60 cm apart), maincrop more generously (around 40 cm, rows 70–75 cm), because they make bigger plants and need room for earthing up.
- Cover and wait. Shoots appear in a few weeks depending on temperature.
- Rotate: avoid planting potatoes in the same ground in consecutive years, which is standard practice for disease reasons and applies here more than to most crops.
Earthing Up: What It Is Actually For
This is the step everyone performs and few understand, and the FAQ corrects the common misconception. Earthing up is not primarily about increasing yield. It is about frost protection and keeping tubers in the dark.
Potatoes form on stems above the seed potato, and any tuber that sees daylight turns green and becomes inedible — green potatoes contain solanine and should not be eaten. So as the plants grow, you draw soil up around the stems, forming a ridge, until the crop is safely buried.
- First earthing up when shoots are around 20 cm tall: draw soil up over them, leaving just the tips showing.
- Repeat two or three times as the plant grows, building the ridge.
- Use it against late frost: if frost is forecast and shoots are up, cover them with soil or fleece — the shoots are vulnerable, though plants usually recover from a light hit.
- In containers, the equivalent is adding compost in stages as shoots grow, until the container is full.
The Bucket Method: Potatoes in Containers
The FAQ confirms it works; here is the method, which is genuinely one of the most rewarding things to grow in a pot:
- Use a large container — 30–40 litres or more, with drainage holes. Purpose-made potato bags, big buckets, tubs and even strong sacks all work.
- Start with about 10–15 cm of compost, place the seed potatoes on it (one in a bucket, two or three in a large tub — resist crowding), and cover with another 10 cm.
- Add compost in stages as shoots grow, until the container is nearly full. This is earthing up, container style.
- Water consistently and generously. Containers dry fast, and potatoes are thirsty once tubers start forming — this is the biggest single factor in container yield.
- Feed with a high-potash feed once flowering starts, exactly as the tomato guide prescribes for the same reason.
- Harvest by tipping the whole thing out onto a sheet or tarpaulin — no digging, no spearing tubers with a fork, and by some distance the most fun harvest in container gardening.
How Much to Plant
A rough guide helps, because potatoes take more space than beginners expect and less than they fear. A single seed potato typically yields somewhere around ten times its own weight in a decent season, so a few kilos of seed potatoes produces a meaningful harvest. For most households, a row or two of earlies gives several weeks of new potatoes at their best — which is the crop genuinely worth growing yourself — while enough maincrop to store through winter needs real space, more like a dedicated bed than a corner. In containers, reckon on one bucket producing a couple of good meals rather than a sack. The sensible first-year approach is a modest planting of earlies plus one or two containers, which teaches you the whole process and tells you how much you actually want next year.
Watering, Feeding and Care
- The critical watering period is when tubers are forming — around flowering. Dry conditions then reduce yield significantly, so this is the moment to water deeply if the weather is against you.
- Consistency matters: alternating drought and soaking causes hollow or misshapen tubers, the same erratic-watering problem the tomato and courgette guides describe.
- Ground-grown potatoes in decent soil need little feeding; containers need it, since the compost's nutrients run out.
- Mulching between rows helps hold moisture and suppress weeds, and the weed guide's principle applies — potatoes' dense foliage does a lot of weed suppression on its own, which is why they are traditionally used to break in rough ground.
- Watch for frost on early shoots, and be ready to earth up or fleece.
Problems: Blight and the Rest
| Problem | Signs | Response |
|---|---|---|
| Blight | Dark brown patches on leaves, rapid collapse in warm humid weather | No cure — grow earlies to dodge it, choose resistant varieties, remove and bin all top growth immediately, wait two weeks before lifting tubers (FAQ) |
| Green tubers | Green patches on harvested potatoes | Do not eat them. Prevent by earthing up properly and covering exposed tubers |
| Slugs holing tubers | Small round holes in harvested potatoes | More common in maincrop left long in the ground — harvest promptly; the slug guide's wider strategy helps |
| Scab | Rough scabby patches on skin | Cosmetic only — peel and eat. Worse in dry, limy soil; keep watering consistent |
| Hollow or misshapen tubers | Internal cavities, odd shapes | Erratic watering — regularise it |
| Frost damage | Blackened young shoots | Usually recoverable; earth up or fleece when frost is forecast |
Potatoes for New Ground
Potatoes have a long-standing reputation as a crop that "breaks in" rough or neglected ground, and it is worth understanding what is true about it. The soil is not improved by the potatoes themselves; it is improved by everything you do around them — the digging at planting, the repeated earthing up, and the thorough forking-over at harvest all break up compacted ground and remove perennial weed roots as you go. On top of that, the dense foliage shades out annual weeds through the season, which is the weed guide's ground-cover principle working for you. So a first-year potato crop on rough ground is a genuinely good idea, not because potatoes are magic but because growing them forces you to cultivate the ground three times in one season while getting food out of it. The one caveat is that heavily weed-infested ground still needs its perennial roots removing properly — the potatoes will not out-compete established bindweed or couch grass, and lifting the crop through them just chops the roots into more plants.
Harvesting and Storing
- Earlies are ready around flowering — the traditional cue. Rummage gently at the edge of a plant to check size, take what you need, and leave the rest growing. New potatoes do not store; they are for eating fresh, which is the whole point of them.
- Maincrop is left longer: when the foliage yellows and dies back, cut it off and leave the tubers in the ground for a couple of weeks to firm their skins, then lift on a dry day.
- Dry them briefly on the surface before storing, and handle gently — damaged tubers rot in store and spoil their neighbours.
- Store in the dark, cool, dry and airy, in paper or hessian sacks rather than plastic, which sweats. Light turns stored potatoes green just as it does in the ground.
- Check the store occasionally and remove anything rotting — the food-waste guide's principle that visibility prevents loss applies to the potato sack as much as the fridge.
- Search the ground thoroughly when lifting: missed tubers sprout next year as "volunteers", which carry disease and confuse rotations.
The Classic Mistakes
- Planting supermarket potatoes instead of certified seed.
- Planting too early into cold wet soil.
- Skipping earthing up and harvesting green, inedible tubers.
- Letting containers dry out during tuber formation, and wondering why the yield was poor.
- Growing maincrop in a blight-prone garden when earlies would have dodged it.
- Composting blighted foliage and keeping the problem for next year.
- Storing in plastic or in the light, and losing the crop after growing it successfully.
The Bottom Line
Potatoes reward the least skilled gardening in the vegetable patch with the most theatrical harvest. Buy certified seed, chit the earlies on a cool windowsill, and plant into warmed soil or a large container once frost has passed. Earth up two or three times — not for yield, but to protect against frost and to keep the tubers dark and edible. Water generously when the plants flower and tubers are forming, feed containers, and lean towards earlies if blight is a problem where you are. Then harvest: rummage for new potatoes around flowering, or wait for the foliage to die back and lift maincrop on a dry day for storing in the dark. Either way, the moment you tip out the bucket is the reason people keep growing them.
Comments
No comments yet. Be the first to share your experience.