
Of everything you can build in a garden in an afternoon, a cold frame gives the most back. It is, structurally, about as simple as a project gets — a box with a sloping transparent lid — and yet it extends the growing season at both ends, solves the hardening-off problem that kills so many home-raised seedlings, shelters overwintering plants, and provides a nursery bed that is in use for most of the year.
It is also the classic salvage build: an old window, some scrap timber, and a few screws. This guide covers what a cold frame does and does not do, a simple build you can adapt to whatever materials you have, where to put it, and — most importantly — the ventilation habit that separates a useful frame from a plant-cooking box.
What a Cold Frame Does
The FAQ describes the mechanism: trapped solar heat plus shelter from wind and rain, producing a microclimate several degrees warmer and far calmer than open ground. The practical uses through the year:
| Season | What the frame is doing |
|---|---|
| Late winter | Warming the soil for early sowings; sheltering overwintered plants and cuttings |
| Spring | The big one — hardening off indoor-raised seedlings, and starting hardy crops weeks earlier |
| Summer | With the lid off, a sheltered nursery bed for cuttings, biennials and young plants |
| Autumn | Extending harvests of salad and hardy crops; rooting cuttings; protecting late sowings |
| Winter | Overwintering hardy cuttings, alpines and Mediterranean plants that hate wet more than cold |
What it is not is a greenhouse. It is unheated, and it will not carry tender crops through winter. What it does is shift the margins — a few weeks at each end, and a great deal of shelter in between.
Building One: Materials and Method
The FAQ's material list is deliberately loose because almost anything weatherproof works. The build below is the standard timber-and-lid version; adapt freely.
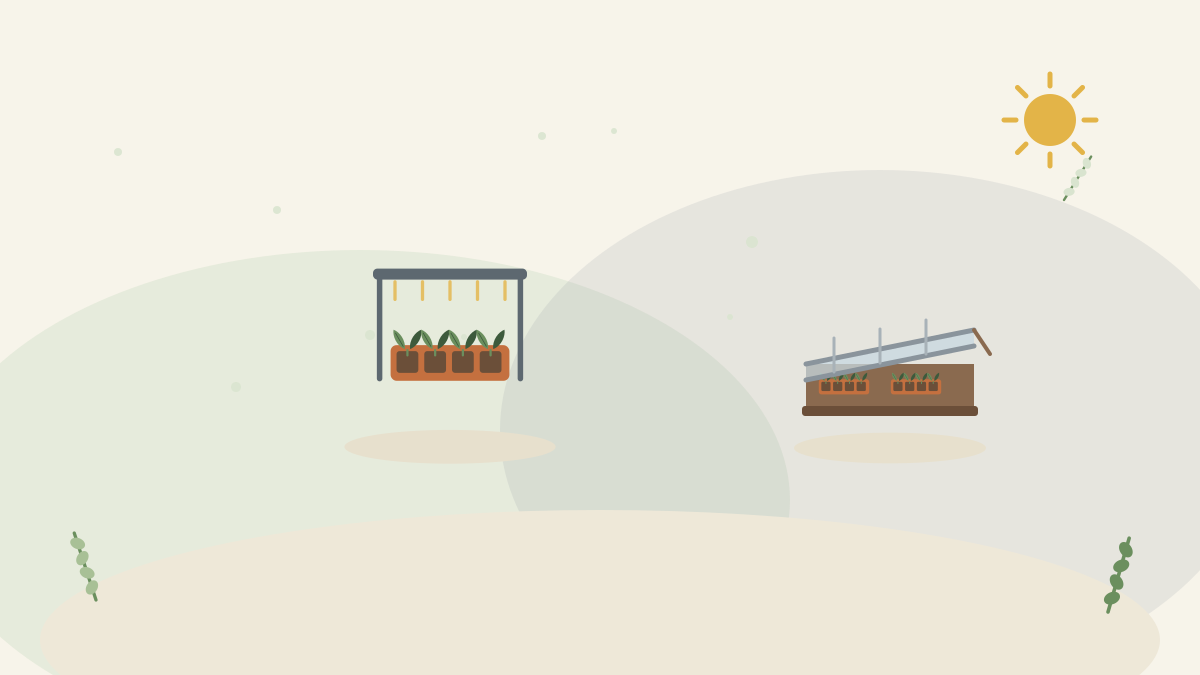
- Decide the size by what you can reach across without climbing in — around 60–90 cm front to back is typical — and by the lid you have. Let the lid dictate the box, not the other way around: build the frame to fit the window or polycarbonate sheet you already have.
- Cut the sides with a slope. The back should be noticeably higher than the front, so the lid sheds rain and angles towards the low sun. A back roughly 40–45 cm high and a front around 25–30 cm is a good starting point.
- Assemble the box — back, front and two sloping sides — with exterior screws. Untreated or naturally durable timber is preferable where plants and soil are in contact; avoid anything treated with preservatives you would not want near edibles.
- Fit the lid on hinges along the back edge, so it opens upward and rests against nothing. Add a simple prop — a notched stick, a hook and eye, or a length of batten — to hold it at different heights for ventilation.
- Glaze with what you have: an old window, twin-wall polycarbonate, or clear rigid plastic. Polycarbonate is lighter, warmer and safer than glass, which matters if children are around or the lid is large.
- Sit it on soil, gravel or paving. A frame directly on soil doubles as a bed you sow into; one on a hard surface holds trays and pots. Both work.
- Weigh it down or anchor it — a lightweight frame with a big lid catches wind alarmingly.
Even simpler versions are entirely legitimate: straw bales with a window laid on top, a stack of bricks with a sheet of polycarbonate, or a large clear storage box with the lid propped. The physics does not care about craftsmanship.

Cost and Salvage
Cold frames are among the few garden structures that are genuinely better built from salvage than bought new, because the requirements are so undemanding. An old window from a renovation, offcuts of scaffold board or decking, pallet timber, spare bricks, or a discarded shower screen all become perfectly good frames — the physics only asks for weatherproof sides and a transparent, sloping top. Local salvage yards, building-site skips (with permission), online free-to-collect listings and neighbours replacing windows are all reliable sources. A bought frame costs meaningfully more than a built one and is rarely better, though ready-made polycarbonate frames are lightweight, safe and quick if you would rather not build. The one place worth spending money regardless of how you get the frame is the automatic vent opener, which costs little and prevents the single most common failure. Build cheap, ventilate properly, and the whole project can cost almost nothing while working for years.
Where to Put It
- Maximum light, with the sloping lid facing the sun's arc — south-facing in the northern hemisphere, north-facing in the southern.
- Sheltered from wind, ideally against a wall or fence, which adds warmth and stops the lid catching gusts.
- On level, free-draining ground. A frame sitting in a puddle rots plants and timber alike.
- Close to the house, because a frame you pass daily gets ventilated and watered, and one at the bottom of the garden does not. This is a practical point that decides whether the whole thing works.
- Accessible from the front, with room to open the lid fully and reach the back.
The Ventilation Habit (The Whole Game)
The FAQ names it plainly: cold frames kill far more plants by overheating than by cold. A closed frame on a bright spring day can reach temperatures that scorch seedlings in hours, even when the air outside is chilly.
- Open on sunny mornings, propping the lid to a height that matches the day's warmth.
- Close in late afternoon to trap the day's heat for the night ahead.
- Close fully before frosty nights, and add a covering of fleece, old carpet or bubble wrap over the lid in severe cold.
- Fit an automatic vent opener if you cannot check daily. These simple, power-free devices expand with heat to push the lid open, and they remove the single biggest cause of cold frame failure. If you buy one accessory, buy this.
- Remember watering. A closed frame gets no rain — plants inside depend entirely on you, and it is easy to forget that sheltered means dependent.
- Watch for pests. A warm, sheltered box is attractive to slugs and snails, so check under pots and trays regularly, as the slug and greenhouse guidance both recommend.
Hardening Off: The Frame's Best Trick
The FAQ explains why indoor-raised plants need acclimatising; the frame makes it painless. Instead of carrying trays outside every morning and back in every evening for a fortnight:
- Move the trays into the frame with the lid closed.
- Open the lid a little more each day over the following week or so, increasing exposure gradually.
- Eventually leave it open during the day, then open at night too once frost risk has passed.
- Plant out into the garden, ideally on a dull or damp day rather than in blazing sun.
The plants get a steadily increasing dose of real conditions with a safety net over them, and you get to stop carrying trays. For anyone raising seedlings indoors — which the seed-starting guide encourages — this alone justifies the build.
Getting the Most From It Year-Round
- Early sowings: sow hardy salads, radishes and early crops directly into the soil inside a frame weeks before the open garden is ready.
- Cuttings: a shaded frame in summer is an excellent rooting environment — the propagation guide's cuttings, with shelter and humidity built in.
- Overwintering: hardy cuttings, alpines, and Mediterranean plants that dislike winter wet more than winter cold do well in a ventilated frame kept on the dry side.
- Autumn extension: salad crops keep producing weeks longer under cover.
- Lid off in summer: the frame becomes a sheltered nursery bed for biennials sown for next year, per the summer checklist.
- Warming beds: even without plants inside, a frame placed on a bed warms the soil ahead of sowing, as the direct-sowing guide suggests.
Alternatives and Companions
A cold frame is one of several ways to buy a few degrees and a few weeks, and it is worth knowing where the others fit. Cloches — bell-shaped covers, tunnel cloches, or the cut-down plastic bottle from the slug guide — protect individual plants or short rows, cost almost nothing, and are ideal for warming a specific patch of soil or shielding new transplants; they are less useful for holding trays of seedlings. Horticultural fleece laid over crops gives a lighter degree of frost protection and pest exclusion over a large area for very little money, and it is the easiest thing to deploy at short notice when a late frost is forecast. Polytunnels and greenhouses do far more but cost far more, take real space, and need proper siting. The sensible progression for most gardens is fleece and cloches for immediate needs, a cold frame as the permanent workhorse, and a greenhouse only if the growing ambition genuinely justifies it. Many gardeners find the frame does ninety per cent of what they wanted a greenhouse for, at a small fraction of the cost.
Maintenance and Safety
- Clean the glazing annually, ideally in winter — dirt and algae block a meaningful share of the light exactly when light is scarcest, which is the same argument the winter checklist makes for greenhouse glass.
- Check hinges, props and timber each year; a lid that drops or blows shut is a hazard and a plant-crusher.
- Glass needs respect: old windows are heavy and break dangerously. Secure the lid so it cannot slam, prop it reliably, and prefer polycarbonate where children play.
- Anchor against wind, particularly for lightweight frames with large lids.
- Clear out debris and check for slugs between seasons, and let the frame air properly when empty.
The Classic Mistakes
- Not ventilating, and cooking a tray of seedlings on the first sunny day.
- Building the box first and then trying to find a lid that fits it.
- A flat lid, which pools water and catches less light than a sloped one.
- Siting it out of sight, where it never gets opened or watered.
- Forgetting to water, because the plants are under cover and out of the rain.
- An unanchored frame in a windy spot.
- Treated timber in contact with soil for edible crops.
The Bottom Line
A cold frame is a box with a sloping transparent lid, and it is the best value structure in gardening. Build it around the lid you can find, with the back higher than the front, from whatever weatherproof material you have — polycarbonate over glass if children are about. Put it somewhere sunny, sheltered, level and close enough to the house that you will actually open it. Then run the habit that makes it work: open on sunny mornings, close before evening, cover on frosty nights, and water what the rain cannot reach — or fit an automatic vent opener and let it do the thinking. Use it to harden off every seedling you raise indoors, to sow weeks earlier, to root cuttings, and to carry hardy plants through winter. One afternoon's building, and the growing year gets noticeably longer.


Comments
No comments yet. Be the first to share your experience.