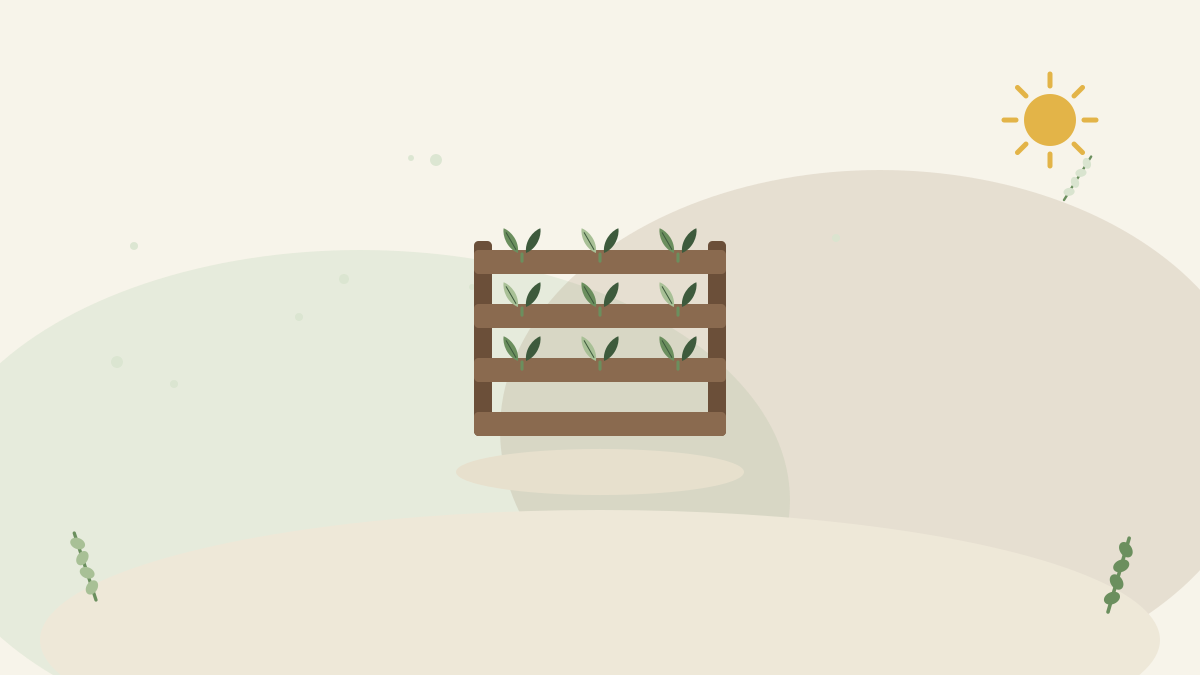
The cheapest square metres in any garden are the vertical ones. A blank fence, a sunny wall, the dead end of a balcony — all of them will grow herbs, salads, and strawberries the moment something gives roots a foothold. The classic foothold is a shipping pallet: free or nearly so, already built as a frame of slats and gaps, and one afternoon’s work away from being a standing garden of four or five planted shelves that occupies zero floor space.
This guide is the full build: choosing a pallet that is actually safe for food (there is a stamp, and it matters), the fabric-pocket construction step by step, the horizontal curing trick that stops soil avalanches, mounting without wrecking a wall, planting by thirst zones, and the watering logic of any garden that lives sideways to gravity.
Safety First: Reading the Pallet
Pallets are treated to cross borders, and the treatment is the whole safety question — the FAQ carries the decoding, and the rule bears repeating: HT-stamped (heat treated) pallets only for anything edible; MB-stamped, unstamped, stained, or chemical-smelling pallets are rejected without appeal, whatever their condition otherwise. Beyond the stamp, pick for build quality too: intact slats, no protruding nails, no rot at the feet, and ideally the closer slat spacing that makes better pockets. Wear gloves for the hunt and the sanding — pallet splinters are the project’s only reliable injury.
Materials and Tools
- 1 HT-stamped pallet, sound and sanded
- Landscape fabric (breathable weed membrane), enough to double-line the back, bottom, and pocket floors — roughly 2–3 m of standard-width roll
- Staple gun with plenty of staples (the real workhorse of the build); a few exterior screws and battens optional for reinforcement
- Sandpaper or a sanding block; hammer for proud nails
- Optional: raw linseed oil or exterior-safe finish for the outside faces; bricks or feet to stand it on
- Potting mix (a surprising amount — 60–100 litres for a full pallet), enriched with about one-fifth compost
- Plants: starts, not seeds, for the first planting — small herb pots, salad plugs, strawberry runners
- For mounting: heavy-duty wall anchors or masonry fixings rated well beyond the wet weight, or a secure leaning arrangement
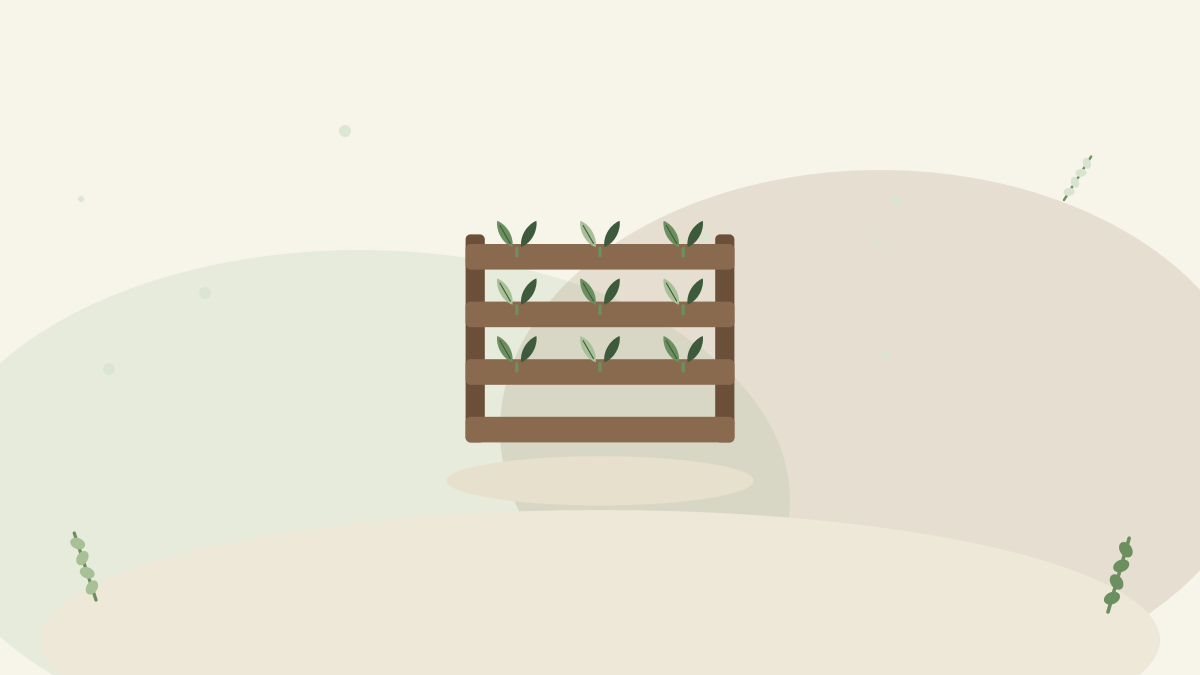
The Build, Step by Step
- Prep the frame: hammer down or pull any proud nails, sand splintery edges and faces, and — if sealing — oil the outside faces only, leaving all soil-contact wood bare. Let any finish cure fully before soil arrives.
- Decide the orientation: the standard build stands the pallet with slats horizontal, openings facing you — each gap between slats becomes a planting pocket, the slats themselves the pocket lips.
- Line the back: lay the pallet face-down and staple a double layer of landscape fabric across the entire back, wrapping edges around to the sides, stapling every 5–8 cm. This is the garden’s rear wall — generosity with staples now prevents a soil waterfall later.
- Close the bottom: wrap and staple a double thickness around the bottom end the same way — this end carries the most weight and moisture of all.
- Floor the pockets: stand the pallet up and, working through each front opening, staple a strip of fabric as a hammock inside each gap — attached to the back lining and to the inside of the slat below the opening — so every pocket has a fabric floor holding soil behind its slat lip. (Some builders skip pocket floors and let the whole interior fill as one column; pockets use less soil and dry more evenly, the column plants deeper roots — both work.)
- Fill: lay the pallet on its back and pour in the mix, working it into every pocket and firming as you go until soil sits just below each slat lip. Water lightly to settle, top up the slumps.
- Plant horizontally: still flat on its back, tuck plants through the openings into the soil — root balls in, foliage out, snug spacing. Water them in.
- The curing fortnight: here is the step impatience always regrets — leave the planted pallet lying flat for one to two weeks, watering normally, while roots knit into the soil and hold it. Stand a freshly planted pallet up on day one and gravity redistributes your work out of the pockets; stand it up after the cure and everything stays put.
- Raise and place: stand it slowly, onto bricks or feet (ground contact is the rot clock), against its wall or fence.
Mounting and Standing: Respect the Weight
A watered full pallet garden is genuinely heavy — plan like it is furniture, not decor. The options in order of commitment: leaning at a slight backward angle against a wall or sturdy fence, secured near the top with a strap, hook, or screw-through so wind and knocks cannot tip it (the default, and fully reversible); bolting to a fence’s posts (never just the thin panels) through the pallet’s thick stringers; or wall-mounting on masonry anchors rated far beyond the wet weight, with the pallet’s feet still carrying most of the load on the ground — hanging the full weight from fixings alone is asking a lot of any wall. On balconies, the FAQ’s weight-and-drip notes apply before anything else.
Planting by Thirst: The Vertical Logic
Gravity waters the bottom and desiccates the top, so plant in zones:
| Zone | Conditions | Plant these |
|---|---|---|
| Top row | Driest, sunniest, windiest | Thyme, rosemary (young), oregano, sage, sedums and succulents on ornamental builds, trailing rosemary to spill |
| Middle rows | Moderate everything | Basil, chives, coriander, compact lettuces, rocket, spinach, strawberries (their classic vertical home), pansies and trailing flowers |
| Bottom row | Moistest, most sheltered | Mint (contained at last!), parsley, salad mixes, chard — the thirsty and the shade-tolerant |
Shallow-rooted everything: pockets hold modest soil, so the deep-rooted (tomatoes, carrots, shrub-sized anything) stay in real containers. And plant the shady-wall version with the bright-shade salad crowd — a north-facing pallet is a lettuce wall, not a failure.

Watering a Sideways Garden
- Expect container frequency or more: small soil volumes plus wall exposure mean daily checks in summer heat, the finger test per zone deciding.
- Water top-down and let gravity help: a generous slow soak along the top row percolates downward; then top up individual thirsty pockets. Slow beats fast — jets of water excavate pockets.
- The automation upgrade: one drip line with an emitter per pocket (or just along the top row), run from a tap timer, converts the whole structure into a self-watering wall — the single best improvement for anyone who travels.
- Feed like containers: fortnightly liquid feed in season, since constant watering leaches the small soil volume fast.
- Mind the drainage path: bottom pockets weep after watering, so a gravel strip, planted bed, or drip tray belongs beneath — especially on balconies and beside doorways.
The Seasons of a Pallet Garden
- Spring: refresh the top few centimetres of each pocket with fresh compost, replant winter losses, and start the salad succession in the middle rows.
- Summer: the daily water check, weekly feed-and-harvest pass, and constant cut-and-come-again picking that keeps salads productive.
- Autumn: swap spent annuals for hardy pansies, violas, and winter salads; ease the watering.
- Winter: the structure’s hardest season — reduce watering to occasional, expect the exposed root zones to run one hardiness notch colder than ground level (the balcony-pot rule), and let hardy herbs and structure carry the view. Check fixings and feet before the storm months.
Design Variations
- The half pallet: saw a pallet across the middle and each half becomes a lighter, balcony-friendly build — same lining and pockets, half the soil and weight, and the offcut is the second garden or the spare parts.
- The freestanding A-frame: two pallets hinged or screwed at the top and spread into a tent stand anywhere with sun — double the planting faces, no wall required, and it folds flat for winter storage.
- The painted pallet: exterior paint or stain on the outer faces (soil-contact surfaces stay bare, as ever) turns salvage into decor — dark colors recede against fences per the small-garden playbook, bright ones make a kids’-corner feature.
- The kids’ pallet: a half pallet at child height, planted with strawberries, cherry-sized salads, and one sunflower pocket, plus full watering-can sovereignty — the raised-bed recruitment strategy, vertical edition.
- The shelf conversion: pallets with wide slat gaps skip pockets entirely — screw the slats level, and the structure holds rows of ordinary pots instead: less soil contact, longer pallet life, instant plant swaps.
Pests and Problems, Vertical Edition
Growing on a wall rewrites the usual threat list, mostly in your favor. Slugs largely retire — the climb defeats most of them, which alone justifies putting the salad crops up here. Aphids continue as normal (the weekly shoot-tip inspection transfers unchanged, and the wall makes it an eye-level stroll), while the wall itself adds two quirks: pockets against warm masonry dry even faster than the vertical average, and the sheltered face breeds mildew if plants crowd — keep the airflow honest by harvesting hard and thinning bushy herbs. Birds discover eye-level strawberries with impressive speed; a modest net over the fruiting weeks settles the dispute.
Honest Alternatives
The pallet is the free classic, not the only vertical: gutter gardens (lengths of guttering with end caps and drainage holes, mounted in rows) suit shallow salads and strawberries with tidier looks and lighter weight; pocket planters (bought felt panels of pockets) skip the build entirely at the cost of buying what the pallet gives free; stacked and tiered pots on a plant stand deliver vertical growing with zero construction; and the internet’s hanging shoe organizers do technically work while looking exactly like shoe organizers full of soil — fine behind the shed, honest nowhere else. The pallet’s advantages remain price, size, and the deep satisfaction of growing dinner on garbage; choose by wall, budget, and patience.
Harvest at Eye Level
The quiet daily payoff deserves its own line: a pallet garden by the kitchen door puts the herbs at hand height, the salads at scissors height, and the strawberries where children and adults race for them — no kneeling, no mud, no excuse. Cut-and-come-again rules apply verbatim from the salad playbook (scissors above the crown, little and often), herbs get pinched constantly to stay bushy in their pockets, and the whole wall repays a thirty-second graze on the way to any meal. Gardens get used in proportion to how easily they are reached; this one is reached at eye level, which is why it gets used most of all.
The Classic Mistakes
- The mystery pallet — no stamp, no history, no thanks; the one rule that is not negotiable.
- Skipping the horizontal cure and sweeping soil off the patio by day two.
- Stingy stapling — the back lining carries everything; double fabric, dense staples.
- Thirst-blind planting — rosemary drowning at the bottom, mint gasping on top.
- Forgetting the wet weight at mounting time, or the drip line of runoff below.
- Deep-rooted ambitions in shallow pockets — the pallet grows the small stuff brilliantly and nothing else at all.
The Bottom Line
Find an HT-stamped pallet from somewhere clean, sand it, line its back and bottom with doubled fabric and abundant staples, fill and plant it lying down, and give roots their two flat weeks before standing it against the sunniest wall you own on a pair of bricks. Plant the drinkers low and the Mediterranean crowd high, water from the top slowly (or clip on a drip line and retire from the job), and harvest at eye level all season. Floor space used: none. Wall transformed: entirely. And when the pine finally tires in a few years, the next pallet is already free.

Comments
No comments yet. Be the first to share your experience.