Repotting occupies a strange place in houseplant care: it is genuinely necessary, it is genuinely simple, and it is also where enthusiastic plant owners do more damage than almost anywhere else. The damage comes from good intentions — repotting too often, into pots far too big, at the wrong time of year, and then watering the result as if nothing had changed. A plant repotted badly can take a year to recover, or not recover at all.
Done properly, it is a twenty-minute job that resets a plant for years: fresh compost, room to grow, and a fresh start on nutrients. This guide covers the honest signs a plant actually needs it, the pot-size rule that prevents most failures, the method step by step, and the aftercare that decides whether the plant sulks briefly or declines slowly.
Does It Actually Need Repotting?
Start here, because the answer is often no. The FAQ lists the real signals, and the definitive one is worth repeating: slide the plant out and look. A dense mat of roots with little visible compost means yes; plenty of soil with roots still exploring means put it back.
| Signal | What it means |
|---|---|
| Roots out of the drainage holes | The pot is full — the classic sign |
| Roots circling the surface | Same story, visible from above |
| Water runs straight through | More root than compost left to absorb it |
| Dries out within a day or two | No soil volume left to hold moisture |
| Growth stalled despite good care | Root-bound, or nutrients exhausted |
| Plant tips over — top-heavy | Outgrown its pot physically |
| Looks fine, growing well | Leave it alone — repotting now is a setback |
Note that some plants genuinely prefer being snug — several flowering houseplants and many succulents flower or perform better slightly pot-bound, so a tight pot is not automatically a problem to solve.
Timing: Spring, Almost Always
The FAQ's reasoning in short: a repotted plant must regrow damaged roots, and that happens fastest when light is rising and growth is active. Spring is the window; early summer is fine; autumn and winter are the times to avoid — a dormant plant in fresh, slow-drying compost is the classic rot setup, exactly as the winter houseplant guide warns.
The one exception is an emergency: root rot, a broken pot, or a soil-borne pest problem gets dealt with immediately, whatever the month, because waiting is worse. Otherwise, note it and wait.
Choosing the Pot and Compost
- One size up, and no more — the FAQ's most important rule. Two to four centimetres more diameter. Oversized pots hold water the roots cannot use, and drowning kills far more houseplants than crowding.
- Drainage holes are non-negotiable. A pot without them is a reservoir. If you love a holeless decorative pot, use it as a cachepot with the plant in a holed liner you lift out to water — the succulent guide's rule applies to everything.
- Material is a preference, with consequences: terracotta breathes and dries faster (forgiving for overwaterers, demanding in summer), plastic and glazed ceramic hold moisture longer (less watering, less forgiveness).
- Use fresh, appropriate compost: a decent houseplant compost for most, a gritty free-draining mix for succulents and cacti, and a bark-based orchid mix for orchids — the orchid and succulent guides are specific about why.
- Skip the "crocks" ritual: a layer of stones in the bottom does not improve drainage and simply reduces the soil volume. A pot with holes and a decent compost is what actually drains.
The Method, Step by Step
- Water the plant a day before. A hydrated plant slides out more easily and suffers less transplant stress — the same principle as dividing garden plants.
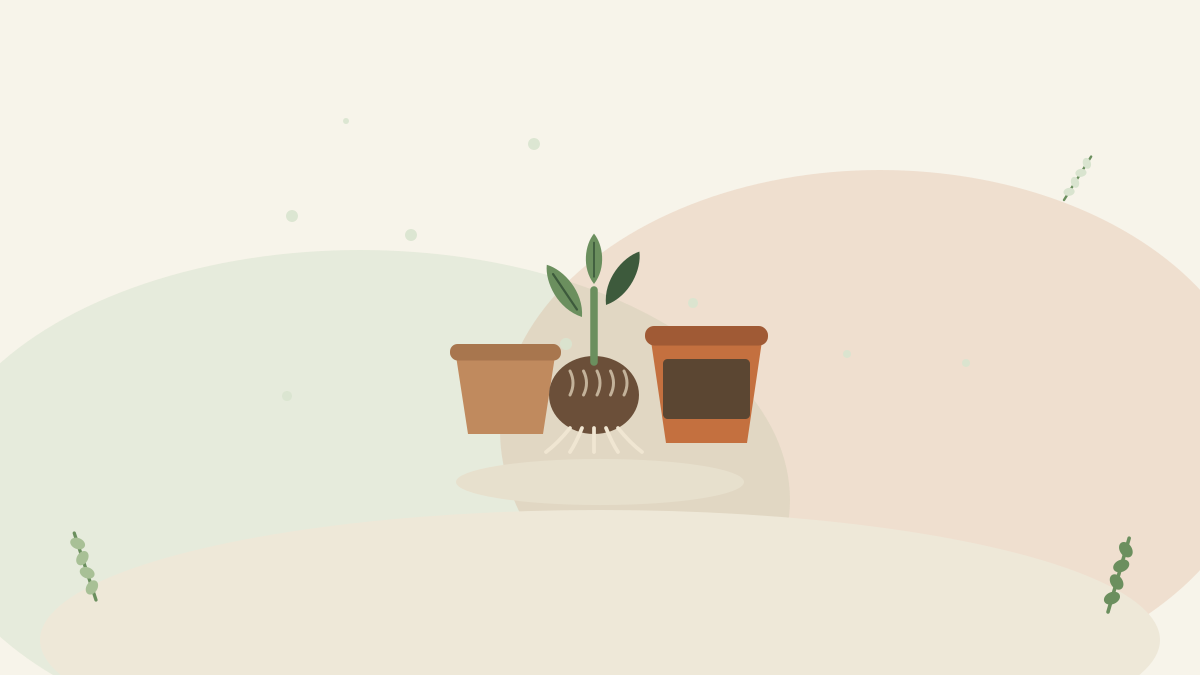
- Ease the plant out rather than pulling it by the stem: support the base, tip the pot, and squeeze or tap the sides. A stubborn plastic pot can be cut; a stubborn ceramic one may need a knife run around the inside edge.
- Inspect the roots. Healthy roots are firm and pale; dark, mushy, foul-smelling roots are rot and should be trimmed away with clean scissors. This inspection is often the most valuable part of repotting — it is the only time you see the half of the plant that matters most.
- Tease out circling roots gently, loosening the outer surface of the rootball so roots grow outward rather than continuing their spiral. For a severely pot-bound plant, a few vertical scores down the sides with a clean knife encourages new growth outward.
- Add a layer of fresh compost to the new pot, sit the plant in, and check the height: the plant should sit at the same depth as before, with the compost surface a couple of centimetres below the rim for watering.
- Fill around the sides with fresh compost, firming gently — enough to remove air pockets, not so much that you compact it.
- Water thoroughly to settle everything, and let it drain completely.
Aftercare: The Part Everyone Skips
The FAQ's aftercare rules matter more than the technique:
- Do not feed for several weeks. Fresh compost has nutrients, and damaged roots take up fertiliser poorly — a feed now can scorch them.
- Water less, not more. This is counterintuitive and important: less root plus more compost means the pot stays wetter for longer. Go back to the finger test and expect longer gaps.
- Keep out of harsh direct sun for a week or two while the plant recovers.
- Expect a sulk. A pause in growth or a dropped leaf is normal; the plant is rebuilding roots.
- Resume feeding when you see new growth — the plant's own confirmation that its roots have taken hold.

What About the Old Compost?
The spent compost that comes off a repotted plant is not waste. Unless it came from a plant with root rot or a soil-borne pest problem — in which case bin it — it goes straight onto the compost heap or the worm bin, where it adds structure and eventually returns as something better than it was. Old compost can also be reused directly as a bulking material in large outdoor containers, mixed with fresh compost, or spread on garden beds as a soil improver. The only thing not worth doing is reusing it as-is for another houseplant: its nutrients are exhausted and its structure has broken down, which is precisely why the plant needed repotting.
Top-Dressing: The Alternative to Repotting
Not every tired-looking plant needs a bigger pot, and for large or mature specimens repotting may be impractical anyway. Top-dressing is the alternative: scrape off the top few centimetres of old, often salt-crusted compost and replace it with fresh, without disturbing the roots at all. It refreshes nutrients, removes accumulated mineral deposits from feeding and tap water, and buys another year or two.
It is the right answer for: very large plants in heavy pots, mature plants you want to keep at their current size, and any plant that looks a little tired but shows none of the pot-bound signals above. Combined with sensible feeding, top-dressing keeps big houseplants going almost indefinitely without ever moving them up a pot size — which is how mature specimen plants are maintained.
Reading the Roots: What You Find Tells You Plenty
The few seconds when a plant is out of its pot are the most informative of its year, because the roots reveal things the leaves only hint at. Healthy roots are firm and pale — usually white, cream or light tan depending on species — and they smell of nothing much, or faintly of earth. Rotting roots are dark, soft, and often smell sour; they may slide out of their outer casing when pulled, leaving a thread behind. Finding some of these on a plant that has been struggling explains the mystery immediately, and the response is to trim them back to healthy tissue with clean scissors, pot into fresh compost that is barely moist, and water sparingly until new growth appears. Tightly circling roots that have moulded to the shape of the pot mean the plant has been root-bound for a while and will benefit from being loosened. And a rootball that falls apart in your hands, with little root binding it together, means the plant was never pot-bound at all — put it back in the same pot, and look elsewhere for the problem.
Pot Sizes and the Long Game
It helps to think of repotting as a series of small steps up over years rather than a single event, because that shapes better decisions at every stage. A young, fast-growing plant might move up a size annually for its first few years; a mature one might go three or four years between moves; and eventually most reach a pot size that suits the space they live in, at which point top-dressing takes over indefinitely. The consequence worth planning for is that every pot size up makes the plant heavier, thirstier in terms of total volume, and harder to move — a large floor plant in a big ceramic pot is essentially furniture. Many experienced houseplant owners deliberately stop increasing pot size at the point where the plant is still liftable, then maintain it there for years with top-dressing and sensible feeding, keeping the plant at a manageable scale rather than chasing maximum growth. Deciding in advance how big you want a plant to get makes the whole sequence of repotting decisions much simpler.
Special Cases
| Plant type | Repotting note |
|---|---|
| Succulents and cacti | Gritty free-draining mix, snug pot; let them settle a few days before watering, so damaged roots callus rather than rot |
| Orchids | Bark-based mix, not compost; repot when the bark breaks down rather than by size — the orchid guide has the detail |
| Clump-forming plants | Repotting is the natural moment to divide instead — one plant becomes several, per the division guide |
| Large floor plants | Top-dress rather than repot once the pot is as big as you want it |
| Plants with rot | Emergency repot whatever the season: trim rotten roots, fresh dry compost, water sparingly afterwards |
| Newly bought plants | Usually wait a few weeks — let them acclimatise to your home before adding repotting stress, unless they arrive badly pot-bound |
The Classic Mistakes
- Repotting a plant that did not need it — the most common one, and always a setback.
- Jumping several pot sizes, creating a reservoir the roots cannot use.
- Repotting in autumn or winter, when roots cannot regrow.
- Planting deeper than before, burying stems that then rot.
- Feeding straight afterwards and scorching damaged roots.
- Watering more out of sympathy, when the plant now needs less.
The Bottom Line
Repotting is simple, but it is not a routine kindness — it is a response to specific signals: roots out of the holes, water running straight through, growth stalled, a plant that tips over. When those appear, wait for spring, choose a pot one size up with drainage holes, and use fresh compost suited to the plant. Ease it out, inspect and trim the roots, tease out the circling ones, plant at the same depth, water in, and then step back: no feeding for a few weeks, less water than before, no harsh sun, and patience through a short sulk. When the pot is as big as you want it, top-dress instead. Do it that way and repotting becomes what it should be — an occasional twenty minutes that keeps a plant thriving for years.
Comments
No comments yet. Be the first to share your experience.