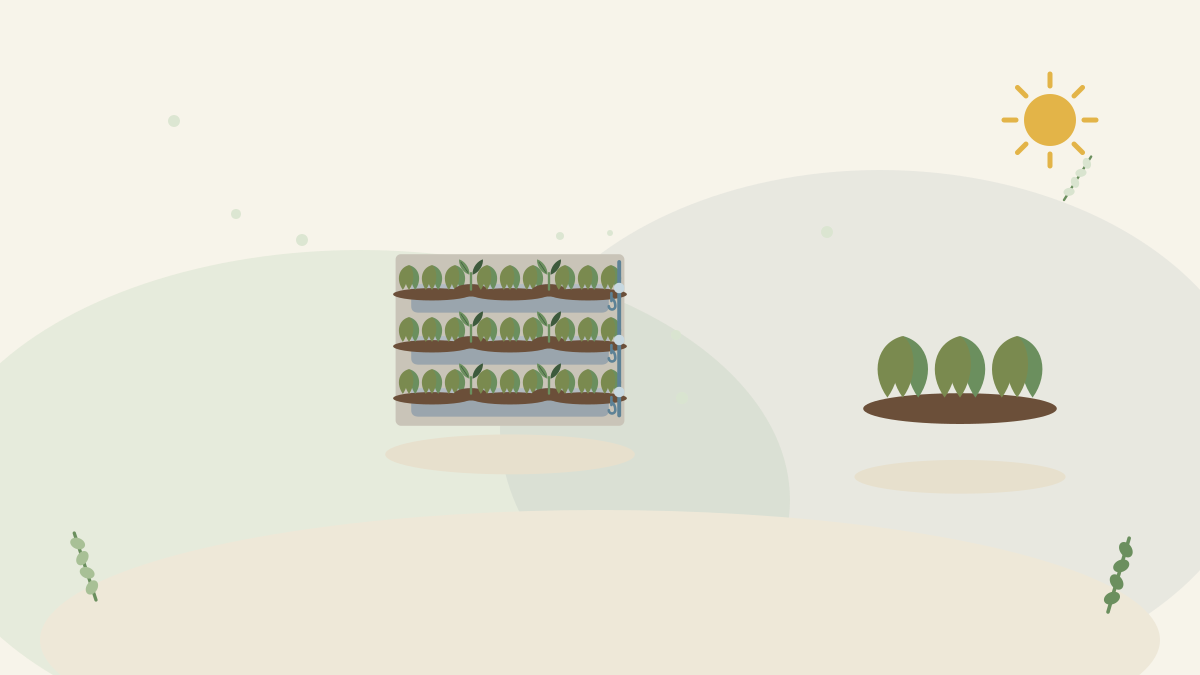
Small-space growing runs out of floor before it runs out of ambition. A balcony has a fixed footprint, and once the pots cover it there is nowhere left — except upward, which is usually several times as much surface as the floor ever offered.
Vertical growing genuinely multiplies what a small space can produce. It also multiplies three problems at the same time: the watering, the weight, and the light. This guide covers the range of systems from a length of trellis to a stacked irrigated wall, the checks to make before installing anything, and the honest maintenance picture — because vertical growing is more productive and more demanding than growing at ground level.
Check This First: Weight and Fixings
The FAQ puts this before everything else for good reason — a failed vertical installation is a safety issue, not a gardening one.
- Calculate for wet weight. Saturated compost is dramatically heavier than dry, and a system that felt manageable when filled can weigh several times that after rain.
- Balconies have structural load limits. Keep heavy installations against the building wall rather than at the outer edge, and check with building management.
- Check tenancy and building rules before fixing anything — many buildings restrict wall fixings, hanging items and anything on railings.
- Fixings must suit the wall material and be rated well beyond the expected load. Check what is behind the wall before drilling.
- Free-standing systems avoid the fixing question entirely and are the sensible choice for renters — but they still need anchoring against wind.
- Wind is the underrated force. A planted vertical system acts as a sail, and balconies are windier than gardens.
The Options, Cheapest First
| System | How it works | Best for |
|---|---|---|
| Climbers on trellis or wires | Roots in one ground-level pot; growth goes up | The cheapest and least demanding — beans, peas, cucumbers, trained fruit |
| Wall-mounted pots and rails | Individual containers fixed at intervals | Herbs and small plants; flexible and easily changed |
| Railing planters | Hook over a balcony rail | Salad, herbs and flowers with no floor space at all |
| Tiered stands and shelving | Free-standing steps of pots | Renters; no fixing needed; easily rearranged |
| Hanging baskets | Suspended containers | Trailing crops and flowers — but the thirstiest option there is |
| Stacked planters and pockets | Purpose-made vertical units | Maximum plant count in minimum footprint |
| Gutter and pallet systems | Homemade horizontal troughs mounted up a wall | Cheap, customisable; good for shallow-rooted salad crops |
The FAQ's point is worth restating: exhaust the climbing option first. A cucumber up a trellis uses vertical space with one decent pot, no wall fixings and no irrigation complications — which is a better outcome than a clever system that needs watering twice a day.
Watering: The Real Constraint
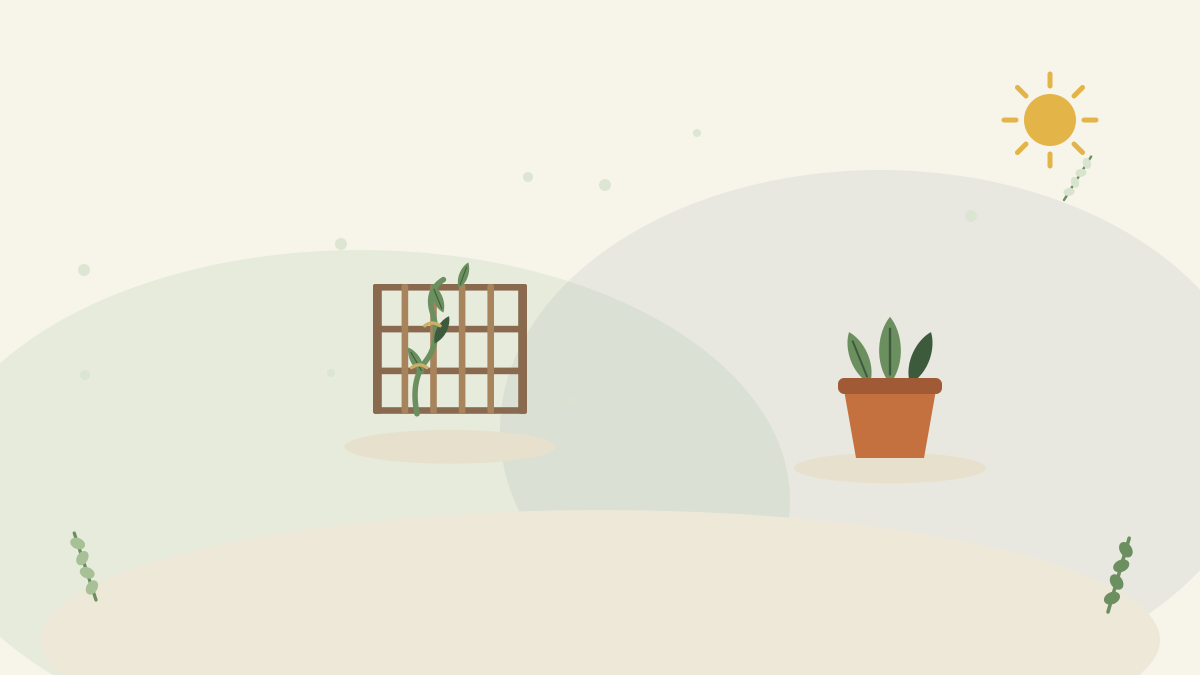
The FAQ explains why vertical systems dry so fast — small containers, exposure on all sides, more wind and sun at the top, and water draining downward. The consequence is blunt: daily watering in summer, sometimes twice.
- Use the largest containers the system allows. Volume buys forgiveness, exactly as the container guide argues.
- Add water-retaining organic matter to the compost, and mulch the surface of each container — the same trick that works at ground level.
- Put the thirstiest plants at the bottom, where water collects as it drains through.
- Consider drip irrigation on a timer genuinely essential rather than optional if you are out during the day — the irrigation guide's advice, with more force here.
- Plan the drainage. Water will run out of the bottom and onto whatever is beneath: your floor, your neighbour's balcony, or a path. Trays, a collection channel or careful siting all matter, and this is a common source of neighbour complaints.
- Test the whole system a week before going away, not the night before.
Light: Design for the Bottom Tier
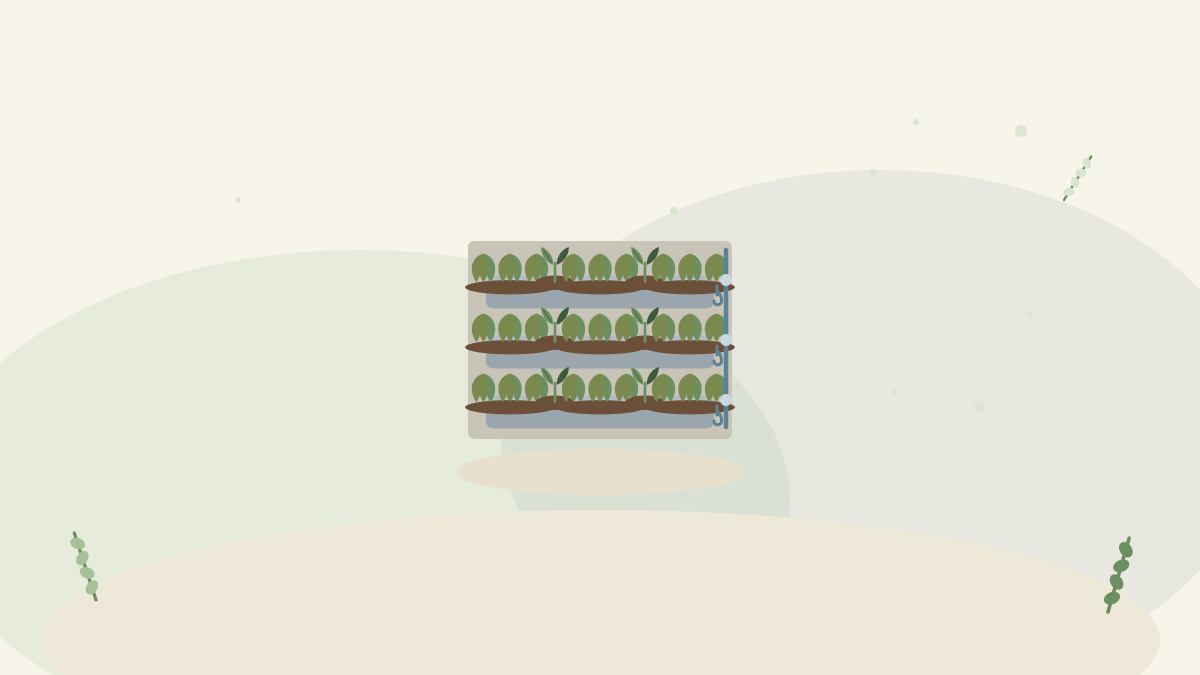
The FAQ identifies the problem people meet after building: upper tiers shade the lower ones, so the bottom of a tall system can be in permanent shade even on a sunny wall.
- Angle or stagger the tiers rather than stacking them flat one above another.
- Keep the structure shallow front to back so light reaches down.
- Site it to catch side light as well as light from above.
- Match plants to their actual level: sun-lovers (tomatoes, peppers, Mediterranean herbs) at the top; leafy crops (lettuce, spinach, chard) in the middle; shade-tolerant plants (mint, parsley) at the bottom.
- Rotate containers between levels where the system allows it, to even out the exposure.
What Grows Well Vertically
| Good | Difficult |
|---|---|
| Salad leaves, spinach, chard — shallow rooted, quick, cut-and-come-again | Root crops — carrots and parsnips need depth |
| Herbs, especially the compact ones | Anything large and heavy-fruiting in a small container |
| Strawberries — the classic vertical crop | Long-term shrubs and trees, better in one big pot |
| Trailing tomatoes and compact varieties | Plants needing consistent moisture in tiny containers |
| Climbing beans, peas, cucumbers on supports | Anything you cannot reach to harvest |
| Flowers for cutting and pollinators | Plants whose weight makes the structure marginal |
Two practical notes: feed more than you would at ground level, since small volumes of compost exhaust quickly and water draining through carries nutrients away — weekly liquid feeding is the baseline. And keep everything within reach: a beautiful system whose top tier needs a ladder to harvest will not get harvested, and the herb guide's point about proximity applies with force.
Living Walls, Honestly
Full living walls — dense panels of planting covering a wall surface — appear constantly in design photography and deserve a realistic assessment before anyone commits to one. They are genuinely striking, and at a domestic scale they are also the most demanding form of vertical growing there is. The reasons are structural and practical: they carry significant weight permanently against a wall, they depend entirely on an irrigation system because the growing volume per plant is tiny, a failure of that irrigation kills a large number of plants quickly rather than one pot at a time, and replacing a dead plant in the middle of a panel is considerably harder than swapping a pot. They also need feeding constantly, since nutrients wash straight through. None of this makes them a bad idea, but it does mean they suit someone who wants a maintained feature rather than someone who wants easier gardening — and for most balconies and small gardens, a set of well-chosen containers and a climber on a trellis delivers most of the visual effect at a fraction of the risk and cost.
Building Your Own
- Guttering cut into lengths and mounted horizontally up a wall, with drainage holes drilled — excellent for salad and shallow-rooted crops, cheap and easily scaled.
- Pallets lined with landscape fabric to hold compost, stood or fixed upright. Check the pallet's treatment stamp before using it for food crops.
- Stacked crates or pots offset so each has light and access.
- A ladder or A-frame holding pots on each rung — free-standing, no fixings, easily moved.
- Repurposed shoe organisers and fabric pockets, which work but dry extremely fast, so accept daily watering.
- Whatever you build: drainage holes, a plan for where the water goes, and honest weight calculation. The trellis and supports guide covers the fixing principles.
Vertical Growing Indoors
The same principles scale down to a windowsill or a wall inside, where the constraints shift but do not disappear. Light becomes the dominant limit rather than water — an indoor vertical arrangement is competing for a narrow band of usable light near a window, and the shading problem the FAQ describes is far more acute indoors where there is no ambient sky light reaching the lower levels. A grow light on a timer is usually necessary for anything beyond the top tier, as the houseplant light guide explains. Water handling matters more, since drainage indoors has nowhere sympathetic to go: use systems with sealed trays and water carefully rather than relying on run-through. Weight on interior walls still needs proper fixings into studs. What works well indoors is herbs, salad leaves and microgreens, all of which are quick, shallow-rooted and harvested young — and all of which the herb guide notes are worth far more than the space they occupy.
Maintenance Reality
- Daily watering checks in summer, and often actual watering. This is the commitment.
- Weekly feeding through the growing season.
- Replant frequently: shallow containers suit quick crops, so a vertical system works best on succession — salad replaced every few weeks rather than one planting for the season.
- Refresh the compost at least annually; small volumes degrade fast.
- Check fixings and structure seasonally, especially after high winds.
- Winter it down: most vertical systems are best emptied or reduced over winter, since small containers freeze through and waterlogged units are heavy and vulnerable.
Privacy, Screening and the Other Uses
Vertical planting does more than grow food, and in a small space the secondary uses often justify it on their own. Screening is the most valuable: a planted trellis or a row of tall containers creates privacy on an overlooked balcony far more pleasantly than a solid panel, and unlike a screen it improves each year. Wind filtering matters on exposed balconies, where a permeable planted barrier slows wind without creating the turbulence a solid barrier produces — the same principle the hedge guide applies to gardens. Insulation and cooling are real if modest effects, since planting against a wall shades it from summer sun. And noise is softened slightly, though the effect is more psychological than acoustic. The practical point is that a vertical installation chosen for screening can be planted with edibles and flowers rather than dedicated screening plants, which means the same structure does two jobs — and on a balcony where every square metre counts, doubling up is the whole game.
The Classic Mistakes
- Calculating for dry weight rather than wet.
- Fixing to a wall without checking rules, materials or what is behind it.
- No plan for where drainage water goes — onto your floor or your neighbour's.
- Stacking tiers flat, so the bottom lives in permanent shade.
- Containers too small for anything but constant watering.
- Underfeeding, because nutrients wash straight through.
- Building higher than you can reach to plant and harvest.
The Bottom Line
Vertical growing is the most effective way to expand a small space, provided you go in with the constraints understood. Start with the cheapest version — a climber on a trellis with its roots in one good pot — and only build stacked systems where you genuinely need more. Before installing anything, calculate the wet weight, check the building rules and the fixings, and decide where drainage water will go. Then design for the bottom tier as well as the top: stagger the levels, put sun-lovers high and shade-tolerant plants low, use the biggest containers the system allows, and plan for daily summer watering with irrigation on a timer if you are out. Feed weekly, replant in succession, and keep everything within arm's reach — because the vertical garden that works is the one you can actually water and harvest.



Comments
No comments yet. Be the first to share your experience.