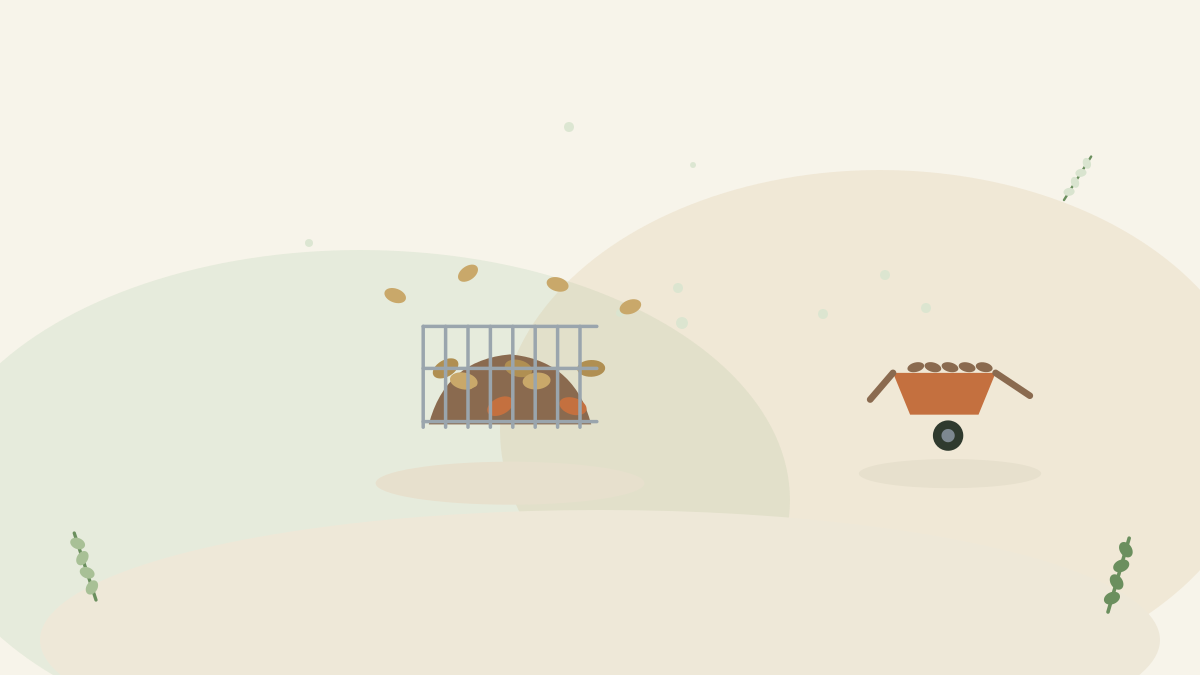
Every autumn, gardens produce a large quantity of one of the best soil improvers available — and a remarkable number of people put it in bags at the kerb and then buy soil conditioner in spring. Leaf mould is free, requires essentially no work, and produces material that is genuinely better than most things you can buy for mulching, soil conditioning and seed sowing.
It is also the rare garden project where the correct technique is to do nothing. You gather leaves, put them somewhere, keep them damp, and wait a year or two. This guide covers how leaf mould differs from compost and why that matters, the two ways to make it, which leaves to use, how to speed it up if you must — and, importantly, which leaves you should leave exactly where they fell.
Why Leaf Mould Is Not Compost
The FAQ's distinction is the key to using it properly. Compost is bacterial, fast, warm and nutrient-rich. Leaf mould is fungal, slow, cold and low in nutrients — but exceptional in structure.
| Compost | Leaf mould | |
|---|---|---|
| Made by | Bacteria, working fast and warm | Fungi, working slowly and cold |
| Materials | Mixed greens and browns | Leaves alone |
| Time | Months | One to two years |
| Nutrients | Rich — feeds plants | Low — improves structure |
| Best used as | Soil improver and feed, potting mixes | Mulch, soil conditioner, seed compost |
| Effort | Balancing, turning, monitoring | None |
This is why it is worth making both, and why you should not tip large quantities of leaves into the compost bin — they rot slowly and swamp the balance the compost guide describes. Leaves have their own process.
Making It: Two Methods
The leaf cage
- Four posts and chicken wire — knock the posts in to form a square, staple the wire around them, and you have a leaf cage. A metre square is a useful size; bigger if you have trees.
- Fill it with leaves, treading them down as you go to fit more in.
- Water if dry. Wet leaves rot; dry ones sit there for years. This is the one thing worth attending to.
- Leave it alone. No turning, no ratios, no monitoring. Add each autumn's leaves on top, or run two cages so one is always maturing.
The bag method
- Pack leaves into strong bin bags, firming them down.
- Add water if the leaves are dry, and punch a few holes for air.
- Tie loosely and stack them out of sight — behind a shed, down the side of the house.
- Forget about them for a year or two.
The bag method suits small gardens and courtyards with nowhere for a permanent heap, and works just as well.

Which Leaves, and How Long
The FAQ ranks them; the practical version:
- Best and fastest: thin, soft deciduous leaves — beech, birch, hornbeam, oak, hazel and similar.
- Slower: thick, leathery or waxy leaves, and large tough ones. Use in smaller quantities, shred them, or send them to the compost heap instead.
- Slowest: conifer needles. Keep them separate, or use as a mulch in their own right.
- Avoid: anything diseased (bin it), and leaves gathered from roadsides where contamination is likely.
- Timing: roughly a year for rough, crumbly mulch-grade material; roughly two years for the fine, dark, sievable stuff.
To speed it up, shred the leaves — the single most effective step, easily done by running a mower over them on a hard surface or collecting them with a mowing bag. Keeping the pile damp is the second. Mixing in grass clippings introduces more activity but shifts the result toward compost.
Which Leaves to Leave Alone
This is the part of the FAQ that matters most, and it runs counter to the tidy instinct. Fallen leaves are habitat — shelter for overwintering insects, cover for amphibians, and food for the soil life that everything depends on. Clear them only where they genuinely cause problems:
| Clear from | Leave in |
|---|---|
| Lawns — a thick layer smothers and kills grass | Under hedges, shrubs and trees |
| Paths and steps — slip hazard | Borders, around perennials |
| Ponds — rot releases algae-feeding nutrients (the pond guide's autumn netting) | Wild corners and habitat areas |
| Small or delicate plants they would smother | Anywhere they mimic woodland leaf litter |
The leaves you gather from lawns and paths alone will make more than enough leaf mould. Everything else is doing a better job where it fell — which is the same conclusion the winter checklist reaches about leaving structure and litter for wildlife.
How Much You Will Get
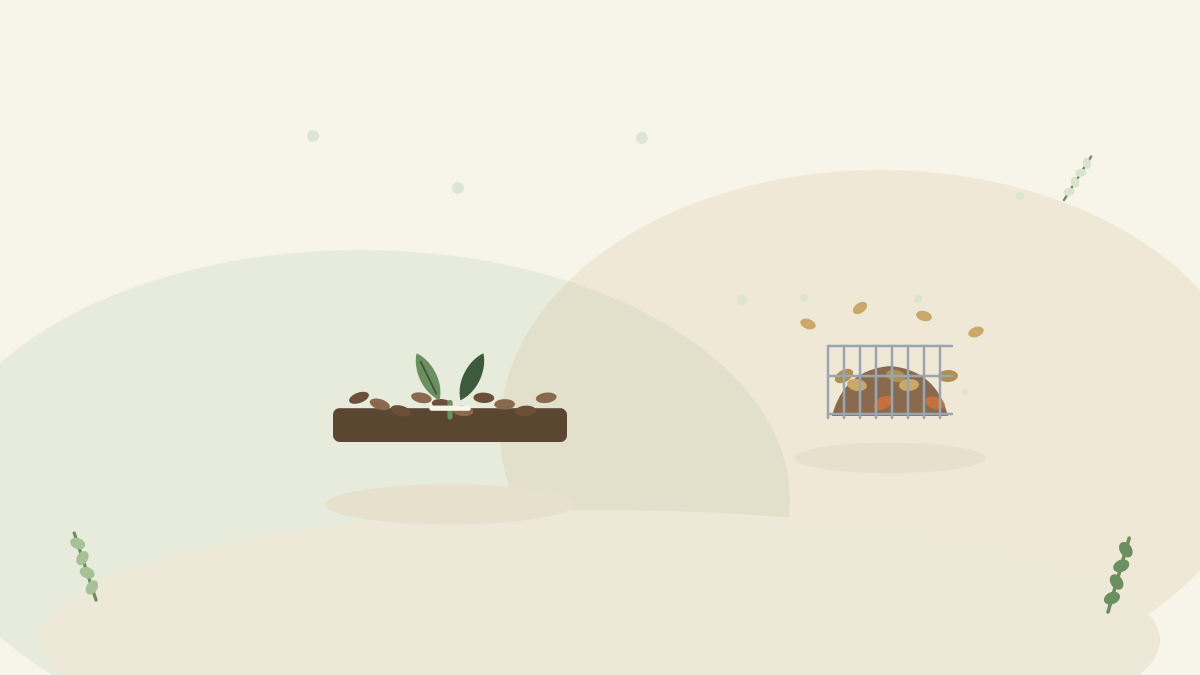
It is worth setting expectations, because the volume reduction surprises people. A large pile of autumn leaves collapses dramatically as it rots — what fills a cage in November will occupy a small fraction of that space two years later, because leaves are mostly air and water. This is not a sign that anything has gone wrong; it is simply what decomposition looks like. The practical consequences are that you should fill the cage generously rather than worrying about overfilling it, that a single season's leaves from a small garden may only produce a couple of bucketfuls of finished leaf mould, and that running two or three batches in rotation is the sensible way to have a useful quantity available each year. It also means the material is highly concentrated in value relative to its bulk — a bucket of finished leaf mould improves a surprising area of soil when used as a thin conditioning layer, and goes a very long way when sieved for seed compost.
Using Leaf Mould
Its low nutrients and fine structure make it useful in ways compost is not:
- Mulch — the classic use. Spread a few centimetres over beds and borders to suppress weeds, hold moisture and improve the surface, exactly as the mulching guide prescribes.
- Soil conditioner — worked in or spread on top, it improves structure on both heavy clay and light sandy soils, since it works physically rather than chemically.
- Seed compost — well-rotted, sieved leaf mould is an excellent seed-sowing medium, and its low nutrient content is an advantage here, since seedlings need light and moisture more than food at germination.
- Potting mix ingredient — mixed with compost and grit, it adds moisture retention and structure.
- Woodland planting — for ferns, woodland perennials and shade plants, leaf mould replicates their natural growing medium closely.
- Top-dressing containers — a fine surface layer that holds moisture, complementing the container guide's advice on mulching pots.
Where to Get More Leaves
Most gardens do not produce as many leaves as their owners would like once they discover what leaf mould is worth, and the surplus is usually sitting on the street. Neighbours without gardens are frequently delighted to have leaves taken away, and a polite offer to clear a path or driveway is rarely refused. Public spaces, verges and car parks accumulate large quantities, though roadside leaves are worth avoiding because of contamination from traffic — leaves from quieter residential streets and parks are a better bet. If you do collect from beyond your garden, take only fallen leaves rather than clearing habitat wholesale, avoid anywhere that has been treated with chemicals, and check that you are not removing something a landowner intends to keep. Between your own lawn clearance, a neighbour or two, and a quiet street, most gardeners can gather far more than they expected — and unlike almost every other soil improver, the only cost is the collecting.
Fitting It Into the Garden Year
- Autumn: gather leaves from lawns and paths as they fall, water the pile if dry, and stop there.
- Winter: nothing. Occasionally check the pile has not dried out.
- Spring: use last year's rough material as mulch; sieve the older, finer material for seed compost.
- Summer: nothing, except perhaps watering the pile in a long drought.
- Running two heaps or two bag batches means one is always ready while the other matures — the simplest way to have a continuous supply.
Other Uses for Autumn Leaves
Leaf mould is the main event, but leaves have several other jobs worth knowing about. Whole leaves make a perfectly good winter mulch spread directly over bare beds — they suppress weeds, protect the soil surface, and rot in place by spring, which is essentially leaf mould made on the bed rather than in a cage. They are also the ideal brown material for the compost heap, balancing out grass clippings and kitchen waste, provided they go in as one component rather than swamping the bin. A layer of leaves packed around the base of borderline-hardy plants gives useful winter root protection, as the winter checklist recommends. And leaves left in a loose heap in a quiet corner become overwintering habitat for insects and amphibians, which the pest guides would point out is free pest control. Between mulch, compost, insulation, habitat and leaf mould, there is genuinely no reason for leaves to leave the garden.
Troubleshooting
- Nothing is happening after a year: almost always too dry. Water it thoroughly and it will restart.
- Slimy and smelly: too wet and airless, usually in tightly sealed bags. Add air holes and mix in some drier material.
- White fungal threads through the pile: exactly what should be happening. This is the process working.
- Taking longer than expected: normal, especially with tough leaves or an unshredded pile. Leaf mould does not fail, it just takes its time.
- Creatures living in it: also normal and welcome — the pile is habitat as well as a resource, so take a look before digging into it in spring.
Sieving and Storing the Finished Material
Once leaf mould is ready, a garden sieve separates it into two useful grades in a few minutes. The fine material that passes through is your seed compost and potting ingredient; the coarser stems and part-rotted pieces left behind go straight back onto the pile to finish, or get used as mulch where texture does not matter. Store finished leaf mould dry and covered — in bags, a lidded bin, or the corner of a shed — because material left open to the weather compacts and leaches away. Label it if you make several batches, since two-year-old fine leaf mould and one-year-old rough material have quite different uses. And take a moment to check what is living in the pile before you empty it: leaf heaps are exactly where hibernating creatures shelter, which is a good argument for emptying them in spring or summer rather than in the middle of winter.
The Classic Mistakes
- Sending leaves away and buying soil conditioner in spring.
- Letting the pile dry out, which stops the process entirely.
- Tipping large quantities of leaves into the compost bin and unbalancing it.
- Sealing bags airtight and producing slime.
- Clearing every leaf from the whole garden, removing habitat and free mulch.
- Expecting compost-level nutrients and being disappointed — leaf mould improves structure, it does not feed.
- Giving up too early, a year in, just as it starts to become useful.
The Bottom Line
Leaf mould is the closest thing gardening has to something for nothing. Gather the leaves that genuinely need clearing — from lawns, paths and ponds — and leave the rest where they fall, because they are habitat and mulch already. Pile what you collect into a wire cage or pack it into bagged batches, water it if it is dry, and then do absolutely nothing for a year or two. What emerges is the best mulch in the garden, an excellent soil conditioner for any soil type, and — once fine and sieved — a seed compost whose low fertility is a positive advantage. No turning, no balancing, no monitoring: just a pile of leaves and enough patience to leave it alone.



Comments
No comments yet. Be the first to share your experience.