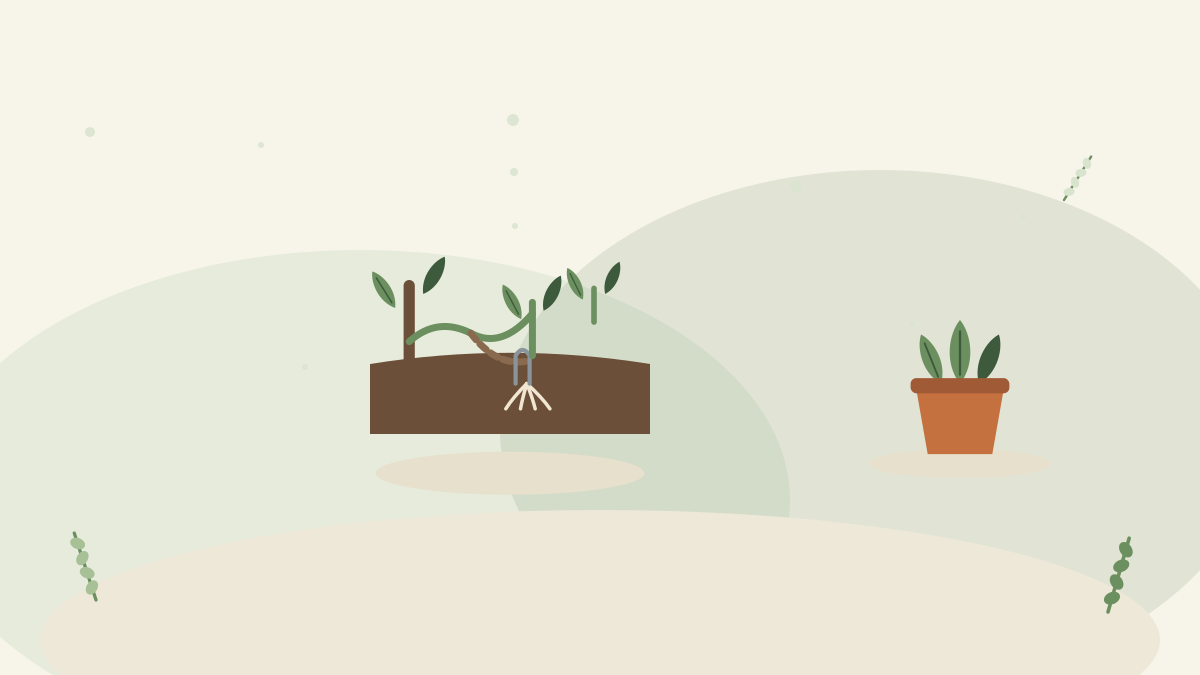
Taking cuttings involves a gamble. You remove a piece of stem from a plant, cutting off its water and nutrient supply, and then hope it produces roots before it runs out of stored energy and collapses. With the right conditions and the right species this works well — but a proportion always fails, and some plants refuse point blank.
Layering removes the gamble entirely. Instead of detaching a stem and asking it to root, you encourage it to root while it is still attached and being fed by the parent plant, and only cut once roots exist. There is no race against time and no risk of the piece drying out, which is why layering succeeds on plants that defeat cuttings — and why it is the most reliable propagation method available to home gardeners after division.
Why It Works
- The stem stays supplied. Water and nutrients continue flowing from the parent throughout, so there is no deadline by which roots must appear.
- Wounding triggers rooting. A shallow cut or scrape interrupts the downward flow of sugars, which accumulate at that point and stimulate root formation — the same principle that makes cuttings root at a node.
- Contact plus moisture plus darkness is what roots need, and burying or wrapping the wounded section provides all three.
- Nature does it anyway. Brambles, many shrubs and climbers root spontaneously wherever a low stem rests on soil — layering is simply that process encouraged deliberately.
- The trade-off: fewer plants per attempt and a longer wait than cuttings. You get one or a few new plants per season rather than a tray of them.
Simple Layering, Step by Step
This is the method for anything with a flexible stem that reaches the ground:
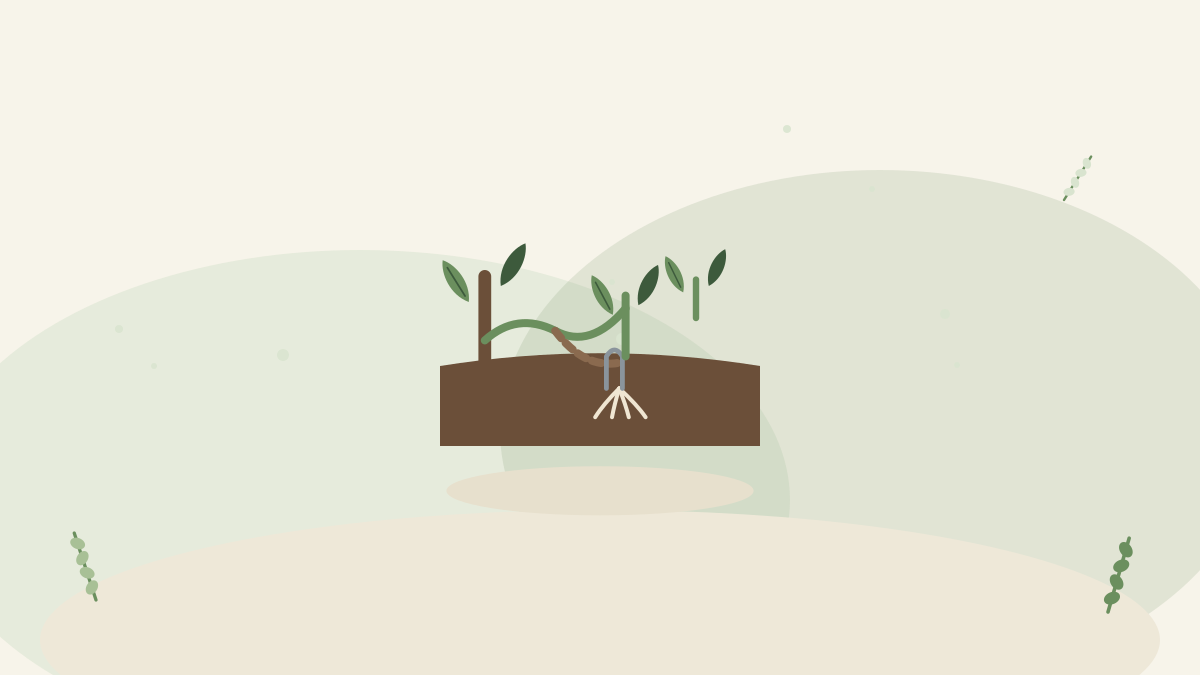
- Choose the stem: healthy, flexible, low-growing, from the current or previous season's growth. Vigorous young wood roots most readily.
- Find the contact point by bending the stem to the soil, leaving enough length beyond it for the growing tip to stand upright.
- Prepare the soil at that spot — loosen it and work in a little compost so the new roots meet good conditions.
- Wound the stem lightly on the underside where it will touch: a shallow slanting cut, or scraping away a small strip of bark. This is the step people skip, and it makes a real difference.
- Peg it down firmly with a wire staple, a forked stick or a stone. Firm contact matters — a stem that lifts away will not root.
- Cover with a few centimetres of soil, leaving the growing tip exposed and, ideally, staked upright.
- Water, and then leave it alone. Keep the area from drying out, but otherwise do nothing.
- Check the following season by gently tugging or scraping back the soil. Resistance and visible roots mean success.
- Sever the stem between the new plant and the parent, wait a few weeks for the new plant to adjust to independence, then lift and replant or pot it.
Variations Worth Knowing
| Method | How it differs | Best for |
|---|---|---|
| Simple layering | One stem pegged down at one point | Most shrubs and climbers with flexible stems |
| Serpentine layering | A long stem pegged at several points, alternately buried and exposed | Long, flexible climbers — produces several plants from one stem |
| Tip layering | The growing tip alone is buried and roots there | Brambles and blackberry relatives, which do this naturally |
| Mound (stool) layering | Soil mounded over the base of a cut-back plant; shoots root within the mound | Fruit rootstocks, currants, some shrubs — produces many plants |
| Air layering | Soil brought to the stem, wrapped in moss and plastic | Tall, stiff or upright stems; leggy houseplants |
Air Layering: For Anything That Will Not Bend
The FAQ describes when to use it; here is the method in sequence. It is the technique that rescues leggy houseplants — a rubber plant or dracaena that has become a bare stem with a tuft of leaves at the top can be turned back into a compact, well-furnished plant, with the parent usually resprouting below.
- Choose a healthy stem and a point below the leafy top where you want the new plant's base to be.
- Clear a short section of leaves and side shoots.
- Wound it: either remove a complete ring of bark a couple of centimetres wide, or make an upward slanting cut partway through and hold it open with a matchstick or a twist of moss.
- Wrap in damp sphagnum moss (or damp compost) — a generous handful, packed around the wound.
- Enclose in plastic and seal both ends with tape or ties so moisture cannot escape. Clear plastic lets you watch for roots.
- Wait weeks to months, checking that the moss stays damp and adding water if it dries.
- When roots fill the moss, cut the stem just below them, pot the new plant with the moss intact, and keep it humid and shaded while it settles.
A Note on Patience
Layering asks for something most propagation methods do not: the willingness to start something now and check it in a year. That is genuinely the hardest part, and it helps to reframe it. A layer costs nothing but a few minutes and a peg, occupies space you were not using, and requires no ongoing care beyond not letting it dry out — so the sensible approach is to start several, in spring, across different plants, and then forget about them entirely. Some will root, some will not, and none of it costs you anything either way. Gardeners who layer regularly tend to describe it as a background activity rather than a project: pegging down a stem whenever they notice a suitable one, and finding free plants the following year that they had half forgotten starting.
Which Plants, and When
- Excellent candidates: climbers of most kinds, climbing and rambling roses, many flowering shrubs, blackcurrants and gooseberries, and shrubby herbs — rosemary, thyme and sage root readily where stems touch soil, which is worth knowing alongside the herb guide's cuttings advice.
- Air layering candidates: leggy houseplants (rubber plant, dracaena, monstera, dieffenbachia), and woody shrubs and small trees with upright growth.
- Poor candidates: anything with brittle stems that snap when bent, plants that grow from a single upright stem with no low branches (use air layering), and annuals, which are not worth the wait.
- Timing: spring is ideal for simple layering, giving a full season to root before separation the following year; autumn works in mild areas. Air layering is usually started in spring or early summer during active growth.
- Patience is the requirement. Most layers take a full growing season; some woody plants take longer. Nothing about the method is difficult, but nothing about it is fast.
Layering Versus the Other Methods
| Method | Speed | Reliability | Plants produced | Best when |
|---|---|---|---|---|
| Division | Immediate | Very high | Several at once | The plant forms clumps or multiple crowns |
| Layering | A season or more | Very high | One or a few | Woody shrubs and climbers; when cuttings have failed |
| Cuttings | Weeks to months | Variable by species | Many at once | You want quantity and the species roots readily |
| Seed | Months to years | Variable | Very many | Cheap quantity; but named varieties may not come true |
The useful way to read this: layering trades quantity and speed for near-certainty. If you want twenty lavender plants, take cuttings. If you want one reliable new specimen of a shrub that has resisted every cutting you have taken, layer it. And if the plant forms clumps, the division guide's method beats both for speed and simplicity — check that first, because dividing an appropriate plant is always easier than layering it.
Aftercare and Separation
- Keep the layering point moist through the season — a dried-out layer simply will not root, which is the commonest cause of failure.
- Do not disturb it to check repeatedly. One careful inspection at the end of the season is enough.
- Sever in stages if you like: cutting partway through, then completing the cut a few weeks later, eases the transition for slower-rooting plants.
- Leave it in place for a few weeks after severing before lifting, so the new plant adjusts to living on its own roots before being moved.
- Treat the new plant as a young transplant: water consistently, shade in hot weather, and expect a season of establishment before real growth — the division guide's aftercare, applied here.
- Trim the top growth if the new plant wilts, to balance the reduced root system.
Layering in Containers and Indoors
Layering is not restricted to open ground, which makes it useful for balcony growers and houseplant owners alike. For a shrub or climber in a pot, simple layering works by pegging a low stem into a second small pot of compost placed alongside — once rooted, you sever the connection and already have a potted plant, with no lifting required. Trailing houseplants make this even easier: pothos, philodendrons, spider plants and similar will root at nodes resting on compost, so laying a length of stem across a neighbouring pot and holding it down with a hairpin or a small stone produces a new plant within weeks, entirely reliably, and without the wilting risk that water-rooted cuttings sometimes carry. Air layering, meanwhile, is the indoor speciality — the rescue for tall, bare-stemmed specimens described above. In every case the advantage is the same as outdoors: the parent keeps the piece alive while it roots, so there is nothing to go wrong except letting the compost dry out.
Troubleshooting
| Problem | Cause | Fix |
|---|---|---|
| No roots after a season | Too dry, no wounding, or a slow species | Keep moist, wound properly, and give woody plants another season |
| Stem rotted at the buried point | Waterlogged soil | Improve drainage at the layering point; add grit |
| Layer lifted out of the soil | Not pegged firmly enough | Re-peg with a proper staple or a stone on top |
| Air layer moss dried out | Plastic not sealed at both ends | Reseal; add water through a small slit and retape |
| New plant collapsed after separation | Severed too early, or moved too soon | Wait for a substantial root system; leave in place before lifting; reduce top growth |
| Parent plant looks worse | Rarely an issue with layering — usually coincidence | Check the parent's own conditions; layering takes little from it |
The Classic Mistakes
- Skipping the wound, and wondering why nothing rooted.
- Pegging loosely, so the stem lifts away from the soil.
- Letting the layering point dry out through summer.
- Checking repeatedly and disturbing developing roots.
- Severing too early, before a real root system has formed.
- Lifting immediately after severing rather than letting the plant adjust.
- Expecting speed from a method whose whole advantage is that it is not in a hurry.
The Bottom Line
Layering is the propagation method to reach for when cuttings have failed, when a plant is difficult, or when you simply want near-certain results. Bend a healthy flexible stem to prepared soil, wound it lightly on the underside, peg it firmly, cover the contact point and leave the tip exposed — then keep it moist and forget about it for a season. Where a stem will not bend, bring the soil to the plant instead with air layering, wrapping a wounded section in damp moss sealed in plastic, which doubles as the standard rescue for leggy houseplants. Sever only when roots are genuinely established, wait before lifting, and treat the result as a young transplant. It takes longer than cuttings and gives you fewer plants — and it works almost every time.



Comments
No comments yet. Be the first to share your experience.