
Composting has a reputation problem. Ask around and you will hear it is smelly, slow, complicated, attracts rats, and requires some mysterious knack. None of that survives contact with a working pile. Composting is a recipe with two main ingredients — carbon-rich “browns” and nitrogen-rich “greens” — and three conditions: air, moisture, and a little patience. Get those roughly right, and billions of microorganisms do the actual work for free.
The payoff is real. Finished compost improves drainage in heavy soil, improves water-holding in sandy soil, feeds plants gently, and diverts a large share of household waste from the bin. This guide takes you from choosing a system to harvesting your first batch, with the troubleshooting table you will want in month two.
What Compost Actually Is
Compost is organic matter — vegetable peels, leaves, coffee grounds, garden trimmings — that microorganisms have broken down into a dark, crumbly, earthy-smelling material rich in humus. The microbes need carbon for energy and nitrogen for building protein, which is why the entire craft of composting boils down to feeding them both in workable proportions. Everything else — bins, thermometers, turning schedules — just makes their job faster or slower.
Step 1: Choose Your System
All four common systems produce the same compost. They differ in cost, speed, effort, and how tidy they look.
| System | Best for | Advantages | Drawbacks |
|---|---|---|---|
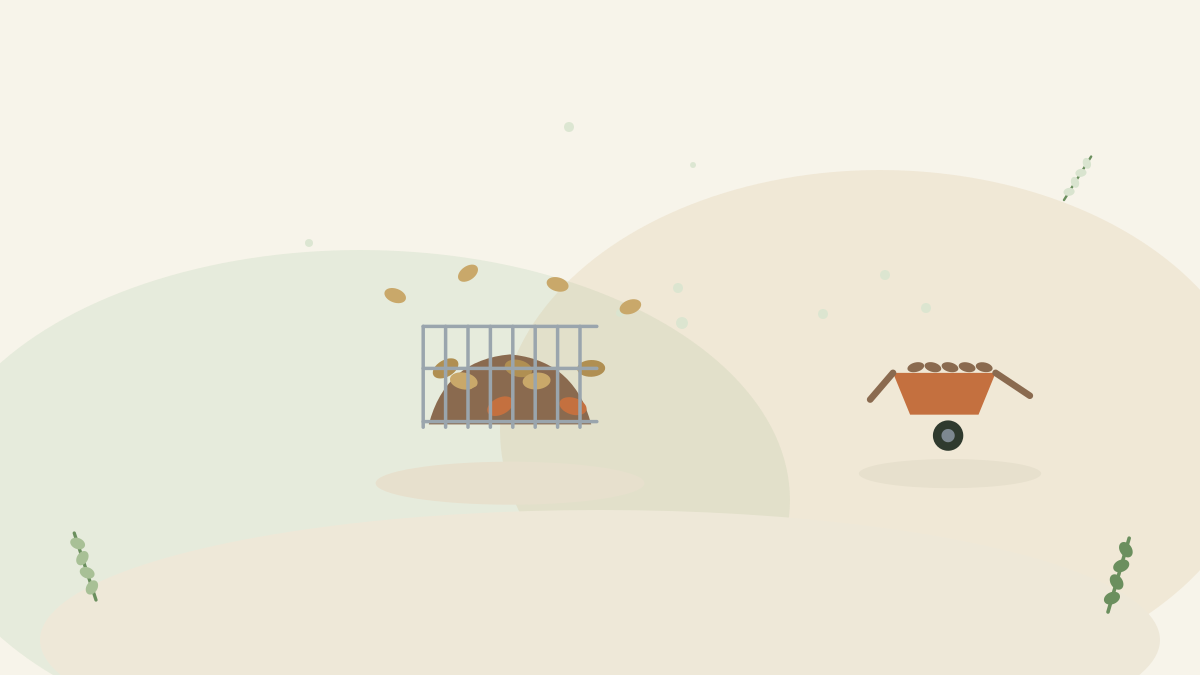
| Open pile or wire ring | Large gardens with space to spare | Free or nearly free; unlimited capacity; easy to turn | Looks untidy; slower unless managed; open to animals |
| Enclosed plastic bin | Typical family gardens | Tidy, contained, holds heat and moisture; deters most pests | Harder to turn; capacity limits |
| Tumbler | Small gardens, impatient composters | Fast — turning is effortless; fully sealed from animals | Costly; small batches; needs browns on hand to balance loads |
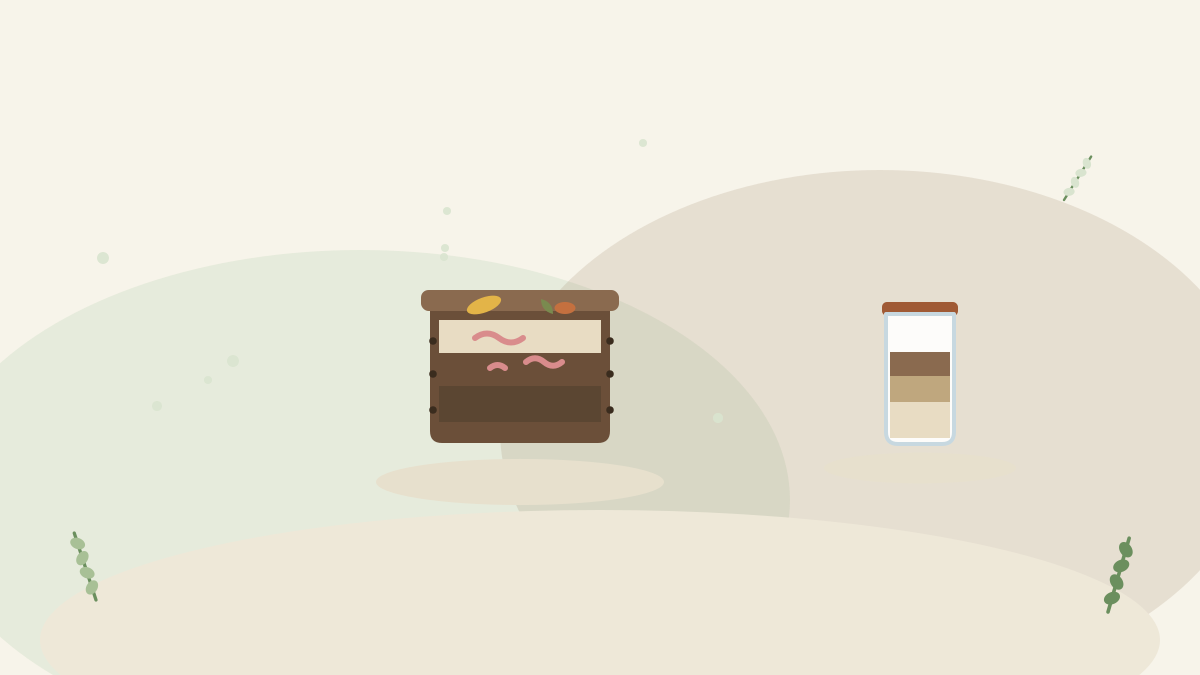
| Worm bin (vermicompost) | Balconies and indoor spaces | Compact, odorless when managed, works indoors year-round | Handles kitchen scraps only; worms need mild temperatures |
Starter recommendation: if you have any outdoor space, an enclosed bin of roughly 200–300 litres is the sweet spot of price, tidiness, and capacity. If you only have a balcony, skip ahead to the small-space section — composting is still absolutely on the table.

Step 2: Pick the Right Spot
- On bare soil if possible, so worms and soil microbes can migrate up into the pile and excess moisture drains away.
- Partial shade is ideal. Full sun dries the pile out in summer; deep shade keeps it cold.
- Within hose reach — you will occasionally need to moisten it.
- Convenient to the kitchen door. This matters more than any other factor for whether you actually keep composting through winter. A pile forty steps away in the rain does not get fed.
- Leave working room in front of the bin for turning and harvesting.
Step 3: Learn the Two Ingredients
Everything you add is either a green or a brown. The pile wants both, in roughly two to three parts browns for every one part greens by volume. Precision is not required — you steer by symptoms, as we will see.
| Greens (nitrogen-rich, moist) | Browns (carbon-rich, dry) |
|---|---|
| Fruit and vegetable scraps | Dry autumn leaves |
| Coffee grounds and paper filters | Shredded cardboard and plain paper |
| Tea leaves | Straw and hay |
| Fresh grass clippings | Small twigs and chipped branches |
| Fresh plant trimmings and deadheaded flowers | Sawdust from untreated wood |
| Crushed eggshells (technically neutral, always fine) | Dried grass and dried plant stalks |
The beginner’s bottleneck is always browns. Kitchens generate greens daily; browns arrive mostly in autumn. Solve it once: bag up fallen leaves each autumn and keep a stash of shredded cardboard by the bin. Every time you tip in a container of kitchen scraps, throw on a couple of handfuls of browns. That single habit prevents ninety percent of compost problems.
What Never Goes In
- Meat, fish, bones, dairy, and oily or cooked foods — they rot anaerobically, smell, and attract rodents.
- Pet waste from cats and dogs — it can carry pathogens that survive home composting temperatures.
- Diseased plant material and weeds carrying seed heads — a typical home pile does not reliably get hot enough to kill either; bin them instead.
- Glossy or heavily inked paper, and sawdust from treated wood — unwanted chemicals.
- Thick evergreen or waxy leaves in bulk — not harmful, just extremely slow; shred and add sparingly.
- “Compostable” bioplastics — most need industrial facilities and will still be intact in your bin a year later.

Step 4: Build the Pile
- Start with a 10–15 cm base layer of coarse browns — twigs, chopped stalks — for airflow from below.
- Add materials in alternating layers as they come: a bucket of greens, then enough browns to loosely cover it. Chop or tear everything smallish; surface area is speed.
- Mix in a shovelful of garden soil or finished compost to seed the microbe population.
- Moisten as you build. The target — the single most useful image in composting — is a wrung-out sponge: clearly damp, but squeezing a handful should produce barely a drop.
- Finish each addition with a thin brown cap. It blocks flies and holds odor to zero.
Step 5: Manage It (Lightly)
Air
Microbes that work fast and odor-free need oxygen. Turn the pile every one to two weeks with a garden fork — outside material to the middle, middle to the outside. Turning is the accelerator pedal: skip it and composting still happens, just over a year instead of a season. A tumbler reduces this chore to a few rotations.
Moisture
Check the sponge test whenever you turn. Dusty-dry pockets mean nothing is happening there — water them. A soggy, dripping pile is suffocating — fork in dry browns.
Heat
A well-fed pile of about a cubic metre heats up noticeably in its core within days — steam on a cold morning is a badge of honor. Heat means speed and helps sanitize the pile, but a cool pile is not a failed pile; it is simply a slow one.
Hot Composting vs. Cold Composting
Every pile sits somewhere on a spectrum between two styles, and knowing which you are running sets your expectations correctly.
Cold (passive) composting
Add material as it comes, turn rarely or never, wait. This is what most household bins actually are, and there is nothing wrong with it: the result is identical compost on a longer clock — typically a year or so. Its weaknesses are that weed seeds and disease organisms survive the low temperatures, so be choosier about inputs, and that recognizable scraps linger near the surface longer.
Hot (active) composting
Build a full-size batch — at least a cubic metre — in one go with a good green–brown mix, moisten it, and turn every few days whenever the core heat starts to drop. The core can reach temperatures that kill most weed seeds and pathogens, and the batch can finish in as little as one to three months. The price is effort and logistics: you need enough material saved up to build the whole pile at once.
The honest advice for beginners: run a cold-to-lukewarm bin with the good habits from this guide, and do not chase the thermometer. Speed is a luxury; the compost arrives either way.
A Year in the Life of a Bin
- Spring: the pile wakes up as temperatures rise. Give it a thorough turn, check moisture after winter, and harvest anything finished at the bottom for the planting season.
- Summer: peak speed — and peak drying. Check the sponge test more often, water when you turn, and keep capping scraps against flies.
- Autumn: the brown harvest. Bag or bin every dry leaf you can get; this stash is next year’s balance. The pile itself can absorb huge amounts of shredded leaves now.
- Winter: activity slows or stops in hard frost. Keep feeding anyway — kitchen scraps plus stored browns — and resist the urge to turn a frozen pile. It all catches up in April.
Troubleshooting Table
| Symptom | Diagnosis | Fix |
|---|---|---|
| Rotten-egg smell | Too wet, no air (anaerobic) | Turn thoroughly; fork in plenty of dry browns |
| Ammonia smell | Too many greens | Add browns, turn |
| Nothing is happening | Too dry, too small, or all browns | Moisten, add greens, build volume |
| Flies around the bin | Exposed food scraps | Bury scraps in the pile; always cap with browns |
| Rodent interest | Wrong inputs or open access | Remove meat and cooked food; use a closed bin with a base |
| Pile is matted and slimy | Thick layer of one material (usually grass) | Break up mats; mix materials when adding |
| Ants everywhere | Pile too dry | Moisten to sponge level; the ants relocate |
How to Know It’s Done
Finished compost is dark brown to nearly black, crumbly, and smells like forest floor. You should no longer recognize what went in, apart from the odd avocado stone or corn cob — sieve those out and toss them back for another round. Two field tests:
- It no longer heats up after turning.
- A handful sealed in a plastic bag for three days comes out smelling earthy, not sour.
Most single-bin composters run a simple cycle: stop feeding the bin in spring, let it finish for a few weeks while fresh scraps go to a second heap or a lidded bucket, then harvest from the bottom — the oldest, most finished material — and restart with the unfinished top layer as the new base.
Using Your Compost
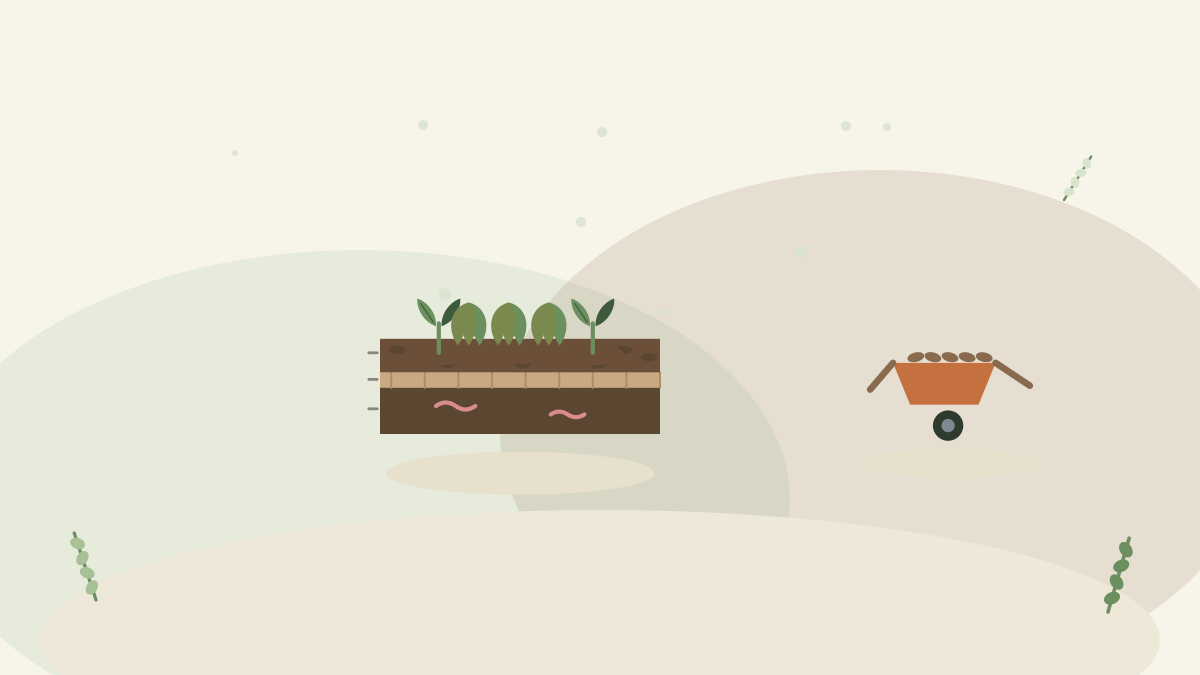
- Beds and borders: spread 2–5 cm over the surface each spring or autumn and let worms carry it down. No digging required.
- Planting holes: mix a few generous handfuls into the backfill for new shrubs and perennials.
- Containers: blend up to about one-fifth compost into potting mix — pure compost is too dense and rich for pots.
- Lawns: sieve it fine and rake in a thin top-dressing.
No Garden? Compost Anyway
Balcony and apartment composting is a solved problem:
- Worm bins are the classic: a stacked-tray system with composting worms turns kitchen scraps into exceptionally rich castings, works indoors or on a shaded balcony, and — genuinely — does not smell when fed sensibly. Keep it between roughly 15 and 25 °C and go easy on citrus and onion.
- Bokashi buckets ferment all food waste, including cooked food, in a sealed pail with inoculated bran; the fermented result then finishes in any soil or community pile.
- Community composting — many neighborhoods, markets, and community gardens accept collected scraps if processing at home is not practical.
Four Myths Worth Retiring
- “You have to buy activators and accelerants.” Commercial compost starters sell convenience, not necessity. A shovel of soil or old compost delivers the same microbes free, and a pile fed a fair share of greens never lacks nitrogen.
- “Citrus and onions can’t be composted.” In a regular bin they are fine in normal kitchen quantities; acidity averages out across the pile. The caution applies mainly to worm bins, where worms genuinely dislike them.
- “Compost piles attract rats no matter what.” Rodents come for meat, cooked food, and easy access — remove all three (closed bin, right inputs, buried scraps) and they have no reason to visit.
- “It’s too much work.” The minimum viable version is: tip scraps in, cover with browns, ignore. That version still works. Everything else in this guide is optional speed.
The Bottom Line
Cover every load of kitchen scraps with a double handful of browns, keep the pile as damp as a wrung-out sponge, and turn it when you think of it. That is the entire discipline. The microbes are already there, already willing, and entirely unbothered by whether you feel like an expert — in a few months the bottom of the bin will hold dark, crumbly proof that you are one.

Comments
No comments yet. Be the first to share your experience.